Introduction.
We are currently releasing 100 units and a beta version of Mia, both the enclosure and the board were created using JLCPCB. This article describes how we developed the board and the enclosure and ran the PDCA cycle as quickly as possible.
JLCPCB is a Chinese company that provides board mounting services and has recently started to develop its 3D printing service business.
EasyEDA and JLCPCB combination to create your own base
For this Mia board, we first created the electronic circuit using EasyEDA, a cloud-based board CAD system.

The electronic schematic creation is described in this article.
EasyEDA is linked to JLCPCB, and after generating a PCB from the created schematic, components can be placed and wired and then ordered directly from JLCPCB.
Specifically, clicking on “One-click Order PCB/SMT” in the figure below will take you from the EasyEDA screen to the screen for ordering JLCPCB.


The short time from order placement to arrival (about 7-10 days) allowed for fast PDCA cycles.
Then, simply upload the BOM (parts list), CPL (parts placement list), etc., press the order button, make payment, and the order is complete. The time from order placement to actual delivery is about 7-10 days, which is much shorter than the conventional electronic circuit development process.
I used to use KiCad for electronic circuit CAD, but EasyEDA and JLCPCB’s all-in-one service up to board creation was so convenient that once I started using EasyEDA, I could not go back.
Compared to the past, the time and effort required from designing a circuit to having it in hand has been reduced beyond imagination, for better or worse (?). Instead of carefully checking circuits at the CAD stage, we can now create circuits quickly, verify them when they reach us, and if they are not good enough, we can create an improved version.
In fact, looking at the Order History, I found that in the year 2023 alone, I had placed a total of more than 10 orders for board improvements. When I ordered the boards, I also asked for two surface mounts in my case.
This was because I wanted to eliminate the trouble of surface mounting the boards myself after they arrived because I wanted to verify them more quickly, and also because I judged that the risk of having one more factor to consider if the boards did not work properly was greater because there would be more defects if I surface-mounted the boards myself.
With the size of the board (approx. 6 cm x 3 cm) and the number of components, it costs 10,000 yen for a single-sided board and 15,000 yen for a double-sided board per two pieces of surface mounting. We ran the PDCA cycle more than 10 times, but the total cost was less than 300,000 yen.
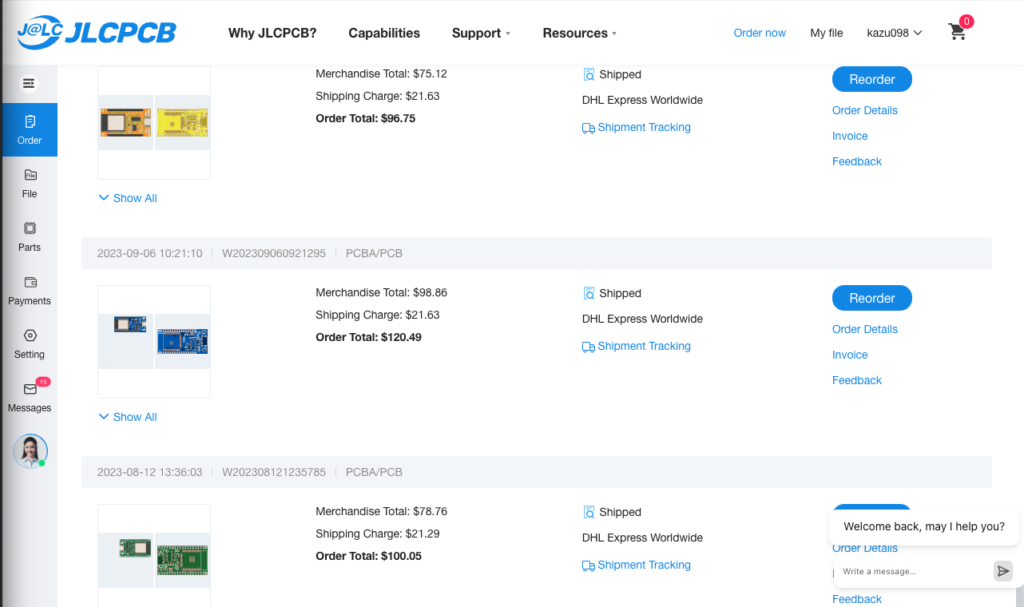
The actual board we created underwent the transition shown in the figure below.

And as for the 100 units for this production, we only needed to enter 100 in the “quantity ordered” field, so we placed the order as it was.

3D printing is also requested from JLCPCB
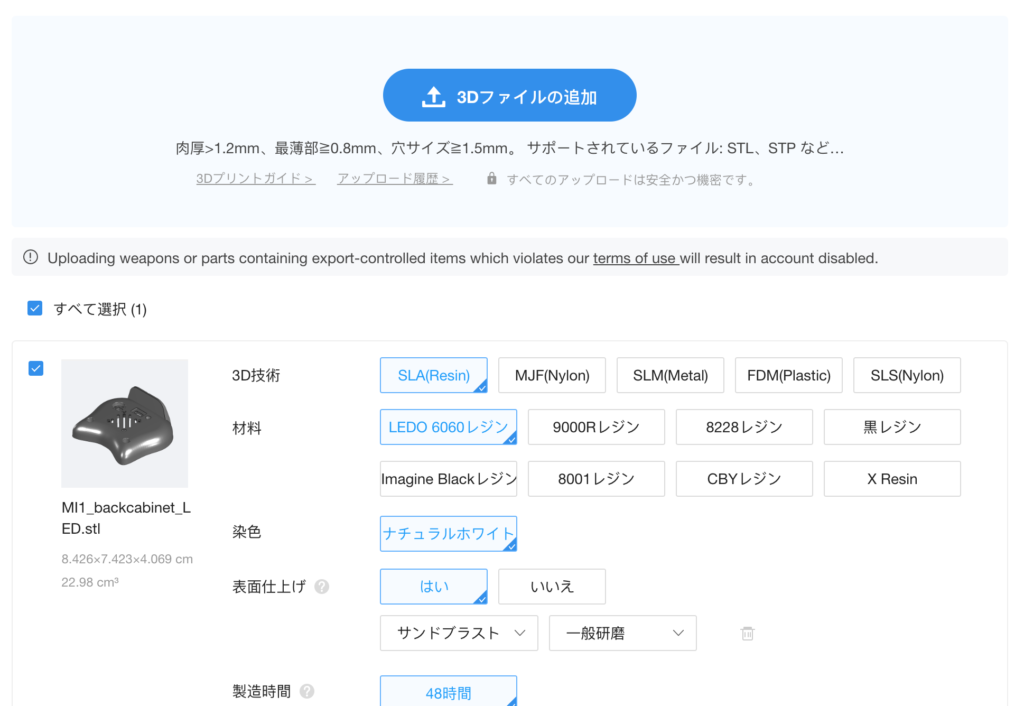
As mentioned in this article, we were wondering whether to use a 3D printing service for the chassis or to make molds for the production of 100 units, but in the middle of ordering the boards (around the end of 2023), we learned from a guide that JLCPCB had started a 3D printing service.
And since the 3D printer was actually more accurate than I had imagined, I decided to commission JLCPCB to do the chassis as well. Compared to 3D printing services in Japan, it is honestly an order of magnitude cheaper.
As a beta enclosure, we will actually order it to see if its strength and appearance can withstand the test of time.
Other than price, the key points of evaluation are as follows
- Can it be screwed down?
- Is the dimensional system acceptable?
- Is the strength equivalent to resin?
- Is the exterior clean?
Based on the above evaluation points, multiple orders were placed for enclosures whose design was generally completed.
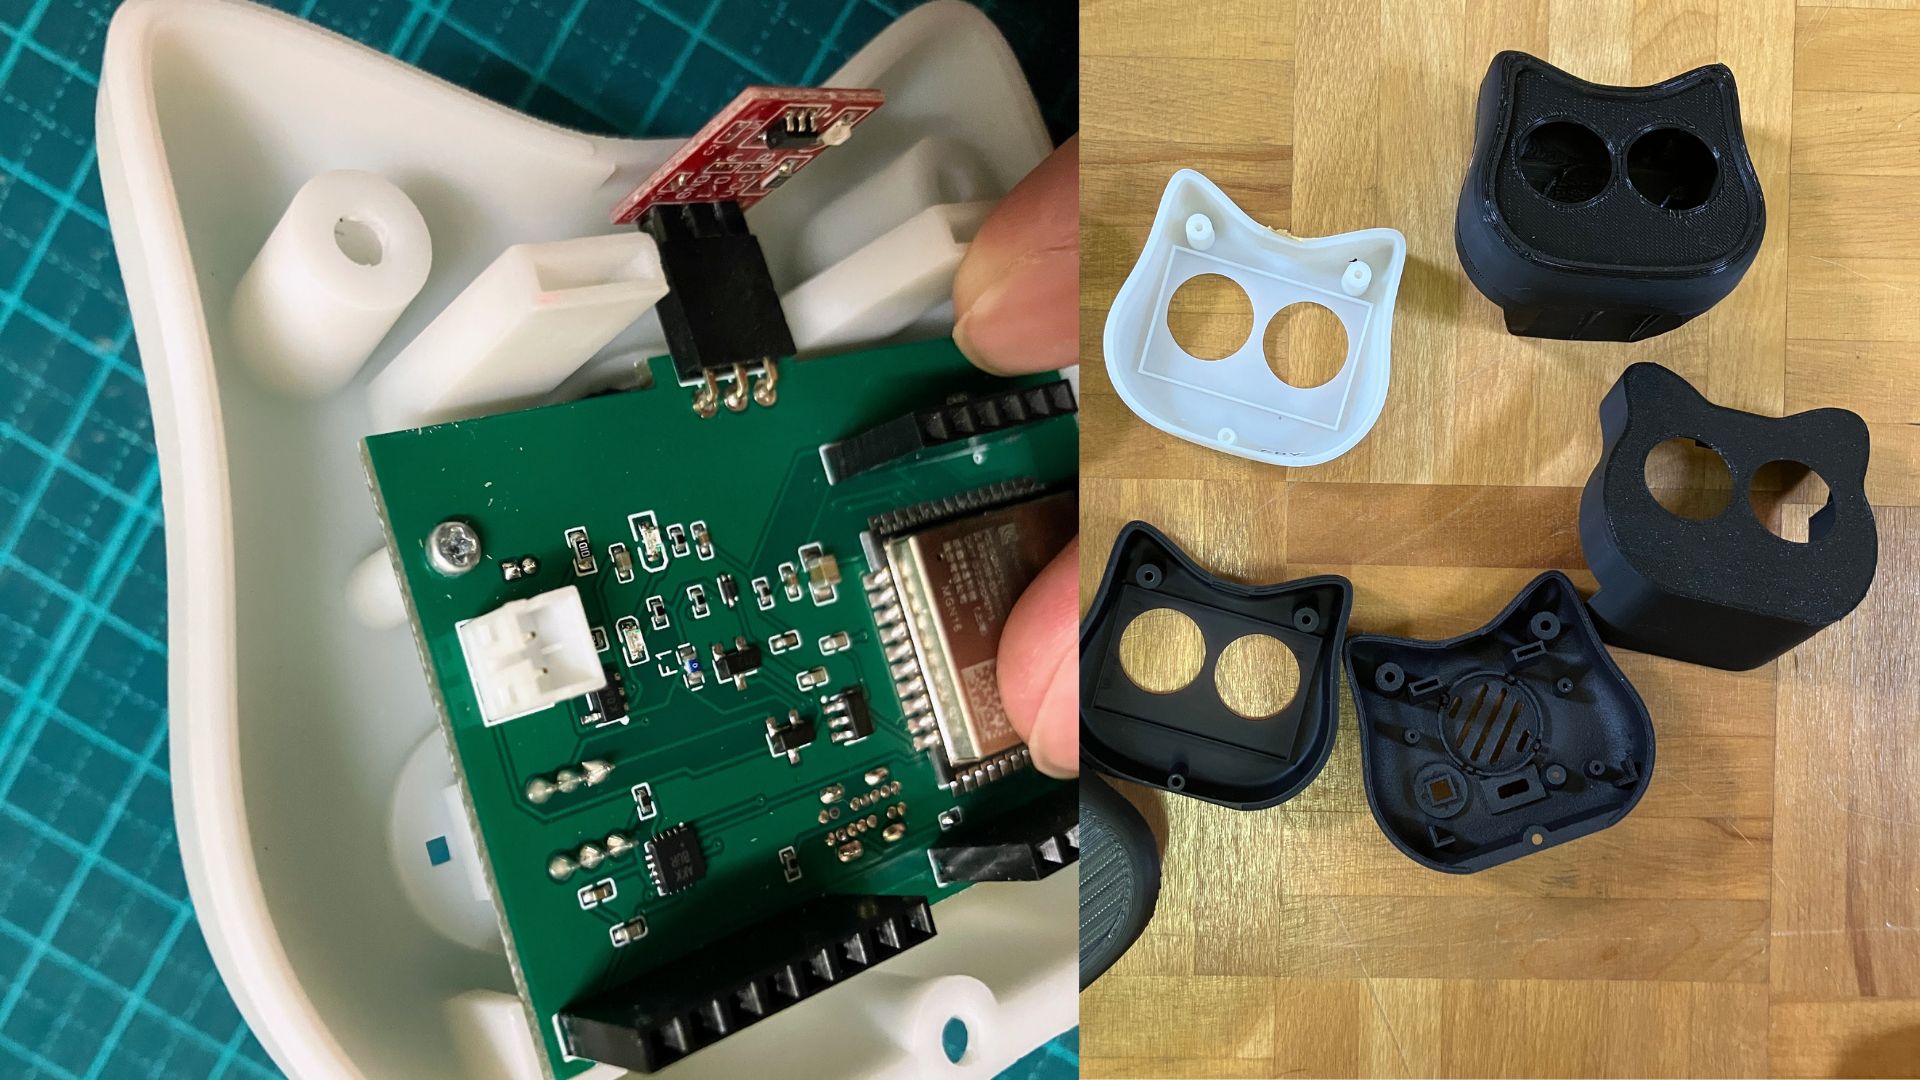
3D Print Sample Evaluation : Screw Fixing
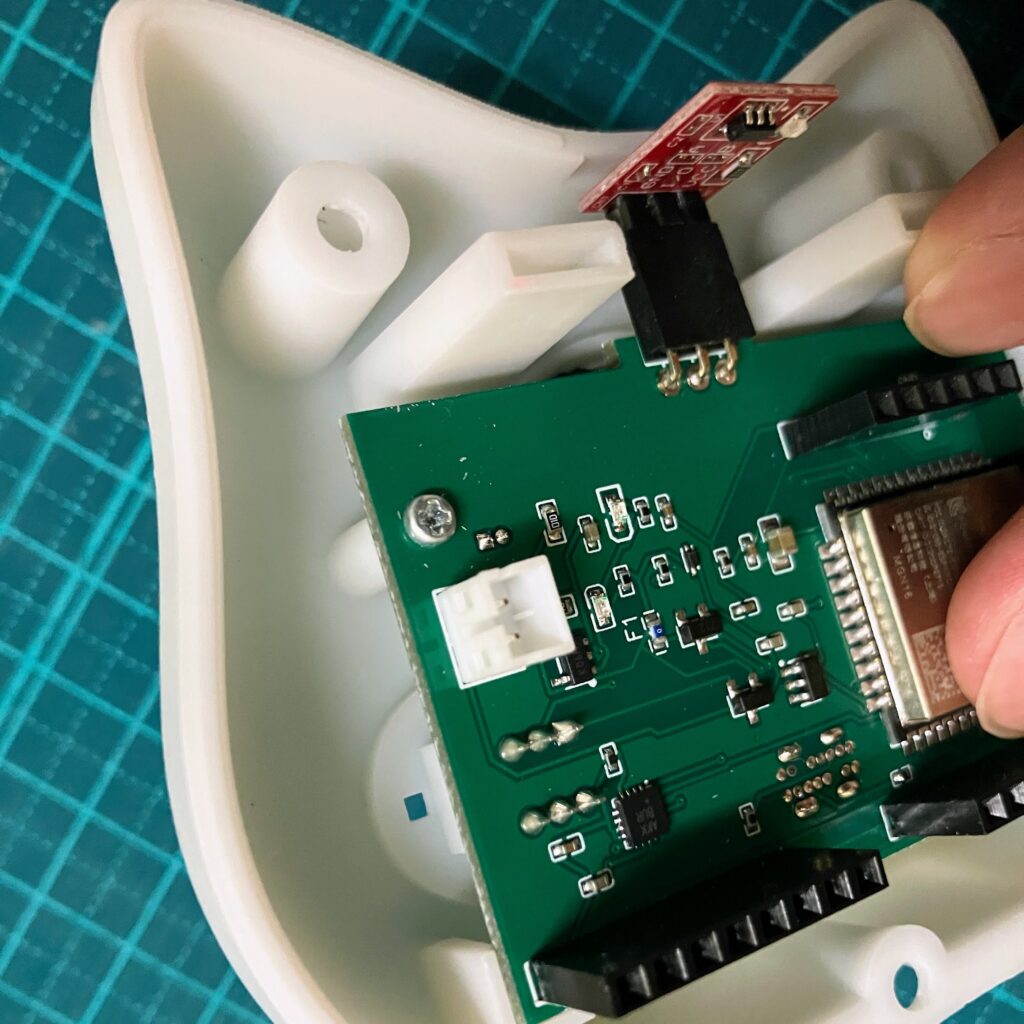
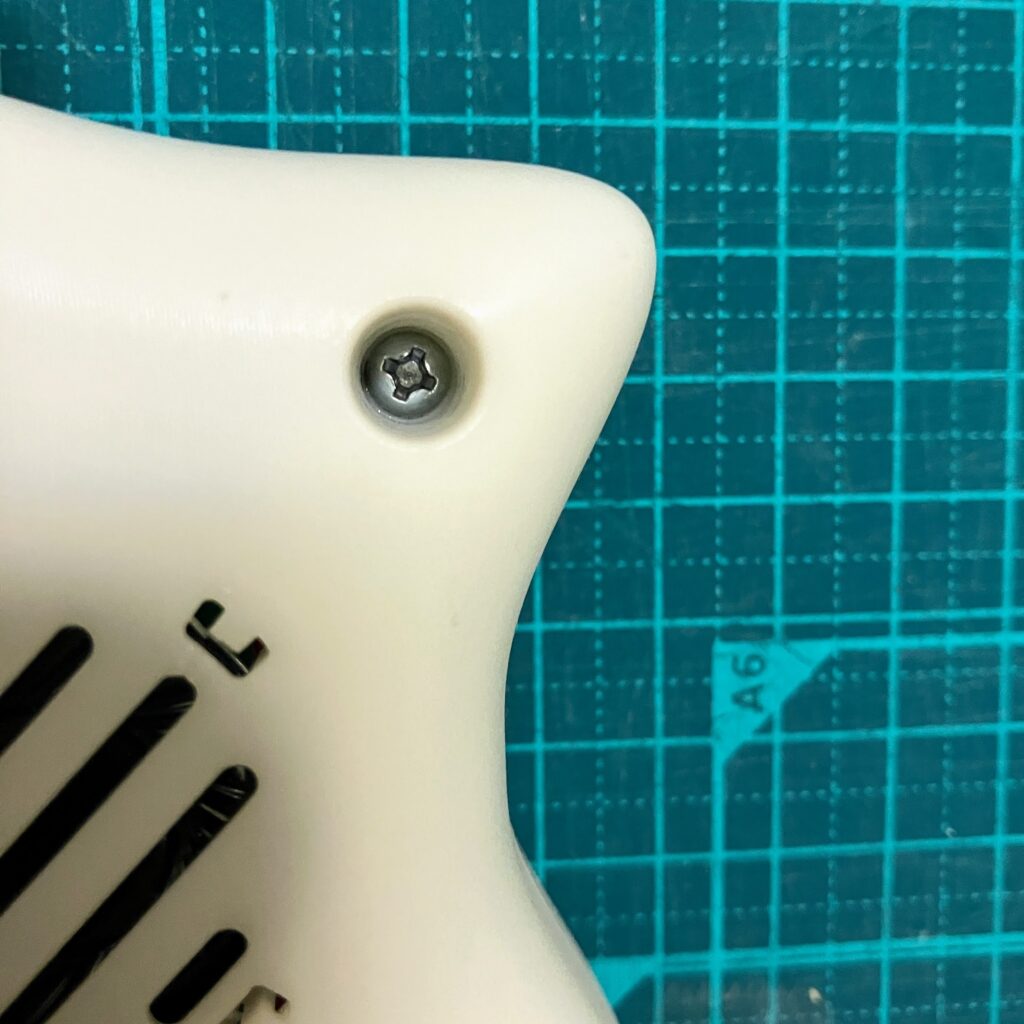
Beta Mia uses three M3 tapping screws for mating the front and rear cabinets and two M2 tapping screws for securing the board.
We gave it a passing grade for being able to be properly screwed down and disassembled/reassembled at least a few times. In general, SLA method output products tend to shrink by a few tenths of a millimeter, so we modeled the lower holes to be larger.
Sample production was conducted to confirm that the above conditions were met.
3D Print Sample Evaluation : Appearance / Color
Since black/white had already been determined for the beta version of Mia, we evaluated price/appearance quality based on materials that could be expressed in black and white.
Sample orders were placed for the following
black
- imagine black resin
- Black resin
- SLS (nylon) black
white
- LEDO6060 resin
- 9000R Resin
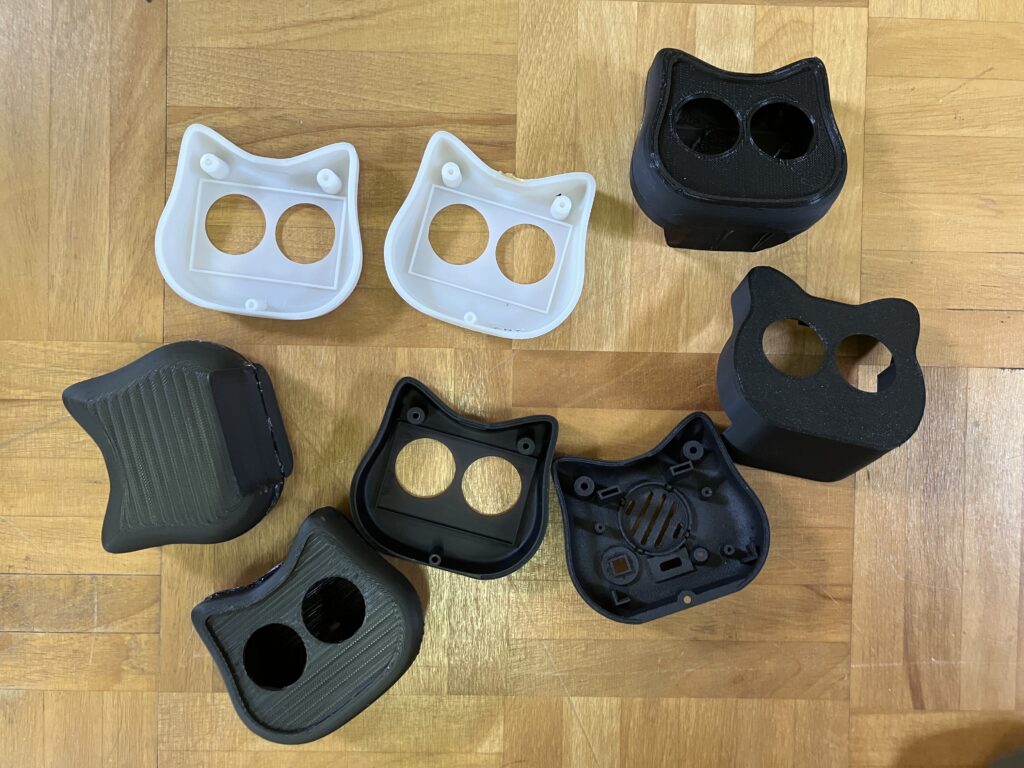
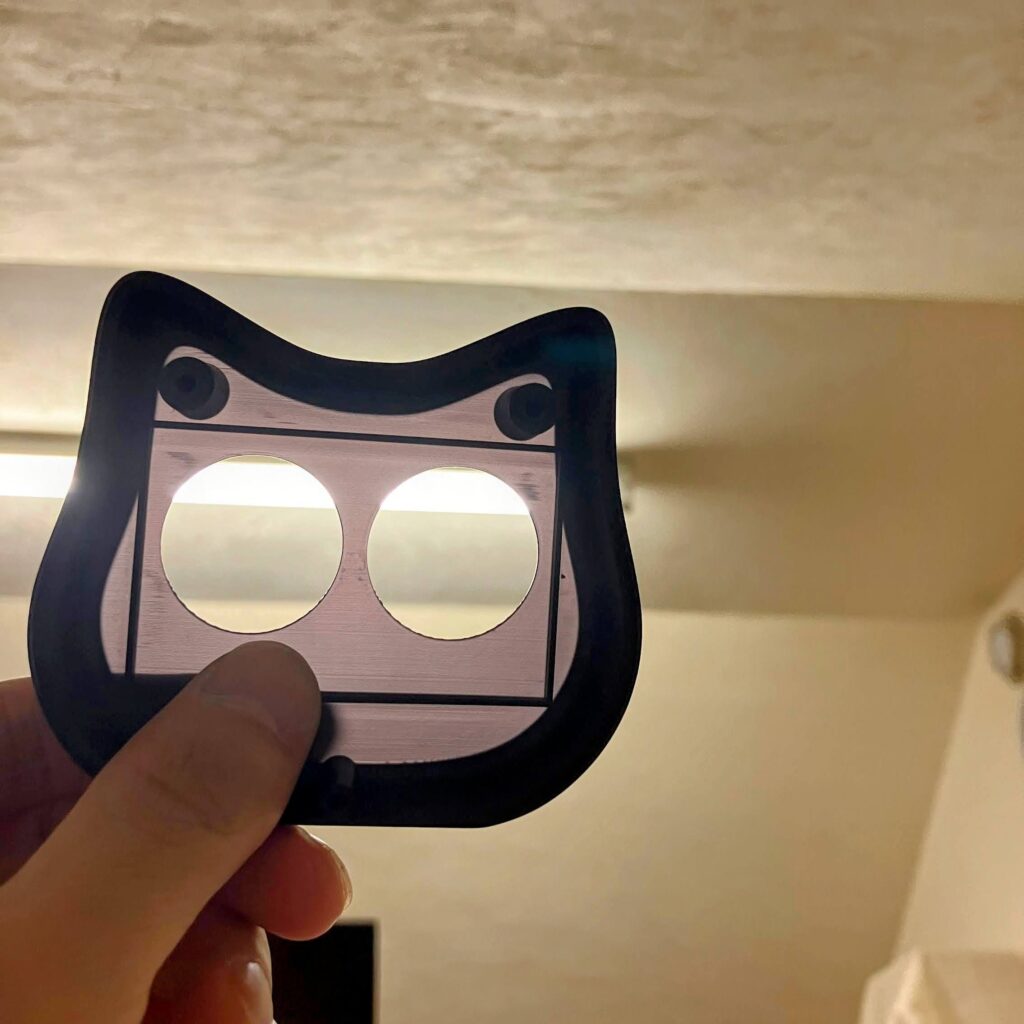
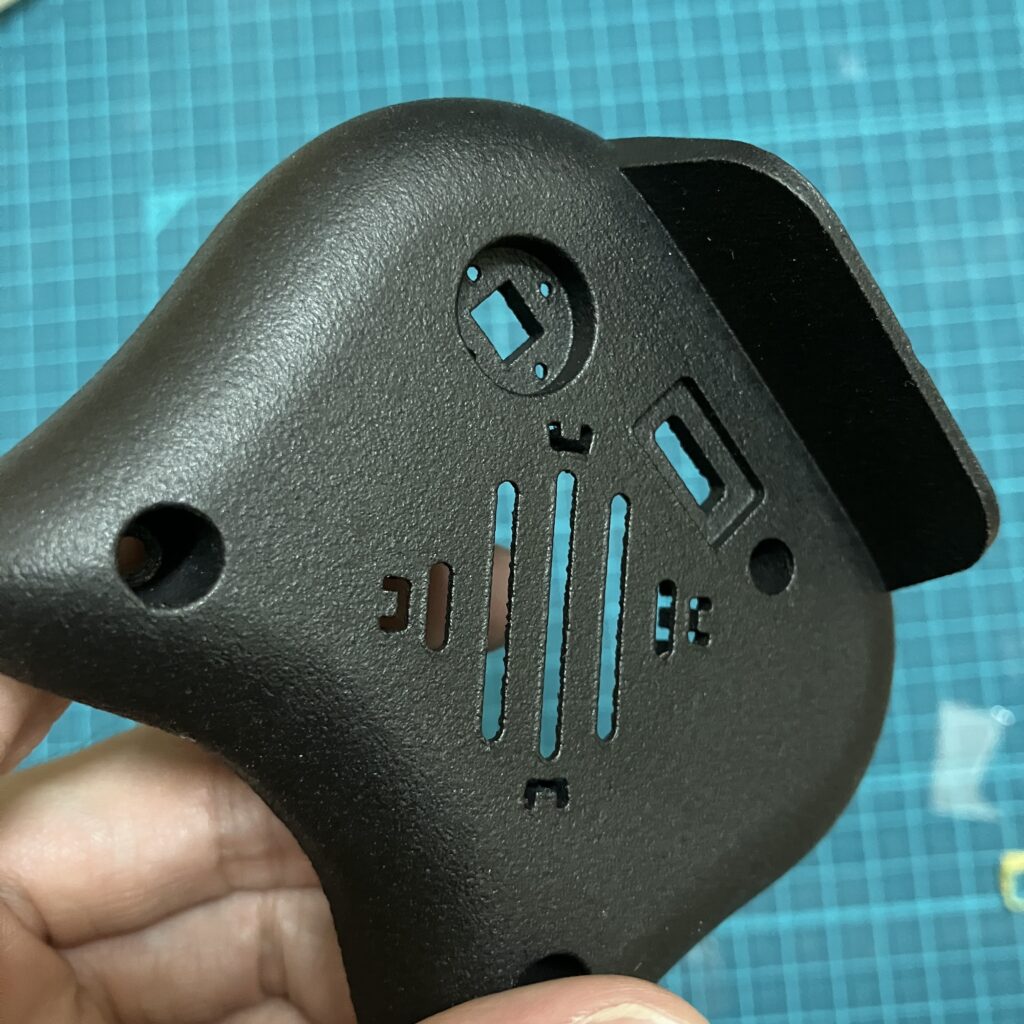
Evaluation of black model samples: imagine black/black resin / SLS
We did not adopt imagine black because of its smooth surface and translucent thin-walled areas; SLS (nylon) had a unique texture and good resin feel, but we did not adopt it because of its inconsistent branding when compared to the white model and because it is more expensive than other materials The SLS material was not adopted because it was more expensive than other materials.
As a result, we decided to use black resin because of its smooth surface with no transparency and almost no lamination marks or distortion.
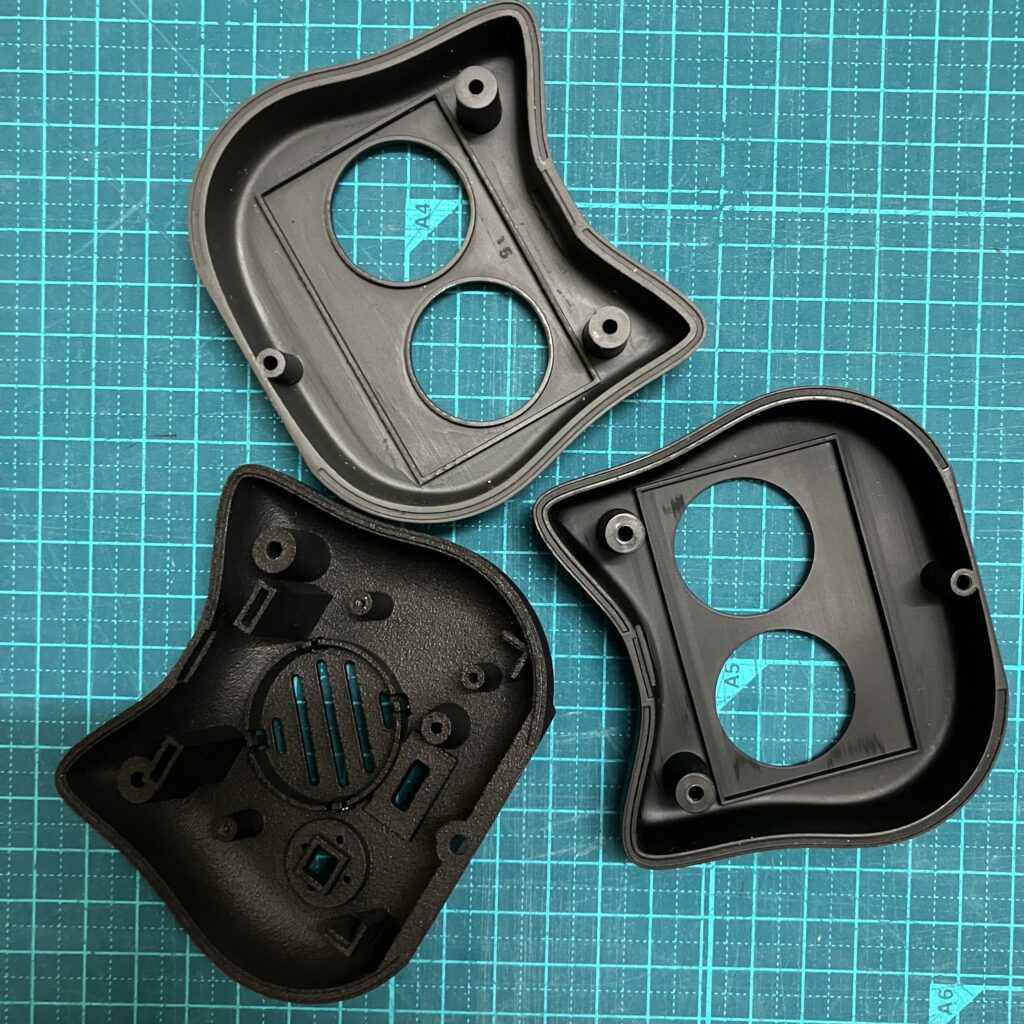
White model sample evaluation: LEDO6060 / 9000R
Although the LEDO6060 resin and 9000R resin looked almost identical, the 9000R resin was selected because it had slightly less distortion and dimensional error.
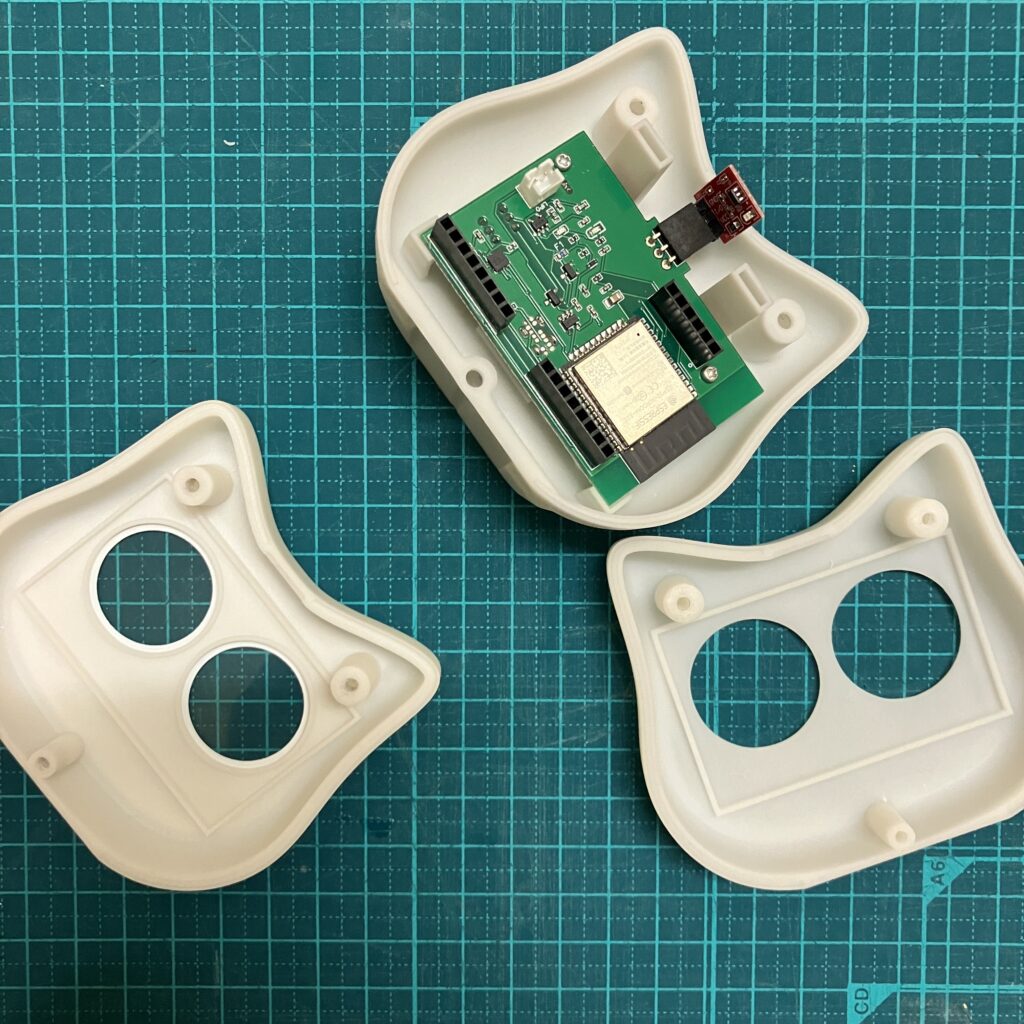
As mentioned above, this time, as a limited beta version before the mold was created, the objectives and cost-effectiveness matched, and the process proceeded smoothly.
We would like to continue to explore the possibilities of product development with JLCPCB’s 3D printing service by utilizing the unique texture and appearance of materials like imagine black and SLS (nylon), which we did not adopt this time.
