- Introduction.
- Where to lodge the design in the shortest possible time
- Propose a reasonable board configuration from the design stage.
- How to create a rounded design?
- How to make it look less like a machine
- Clear panels for customizability
- Possibilities of 3D printers felt at JLCPCB
- Design design for immediate trial but with mass production in mind.
Introduction.
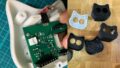
In the early stages of designing Mia’s body, I used a 3D printer to print the design through trial and error, but I was unable to come up with a cute design and felt I was reaching my limits along the way.
Incidentally, this is the design we were prototyping at the time. Compared to the current Mia, it was one or two times larger and not at all cute.
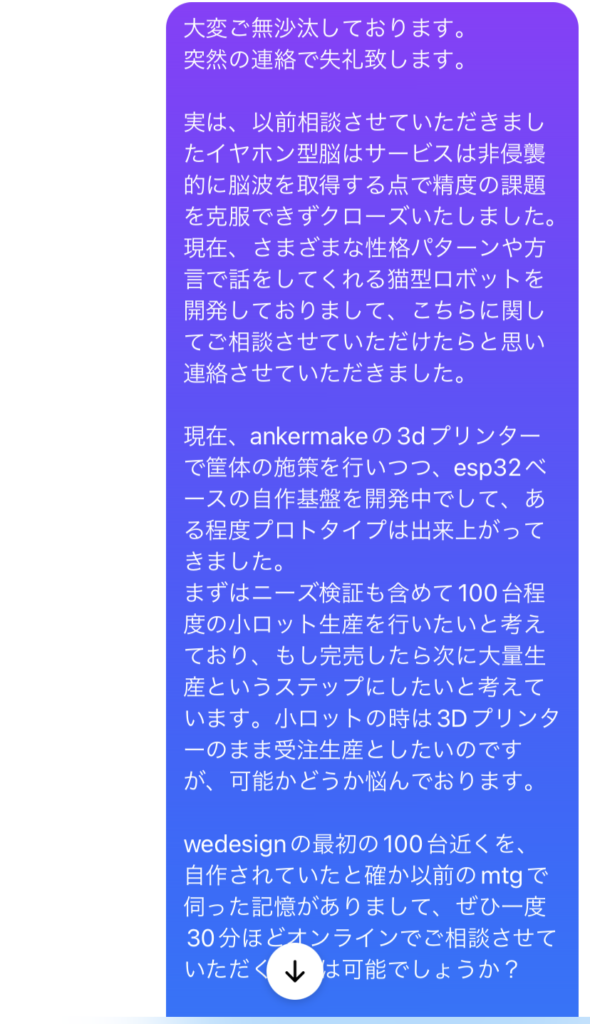
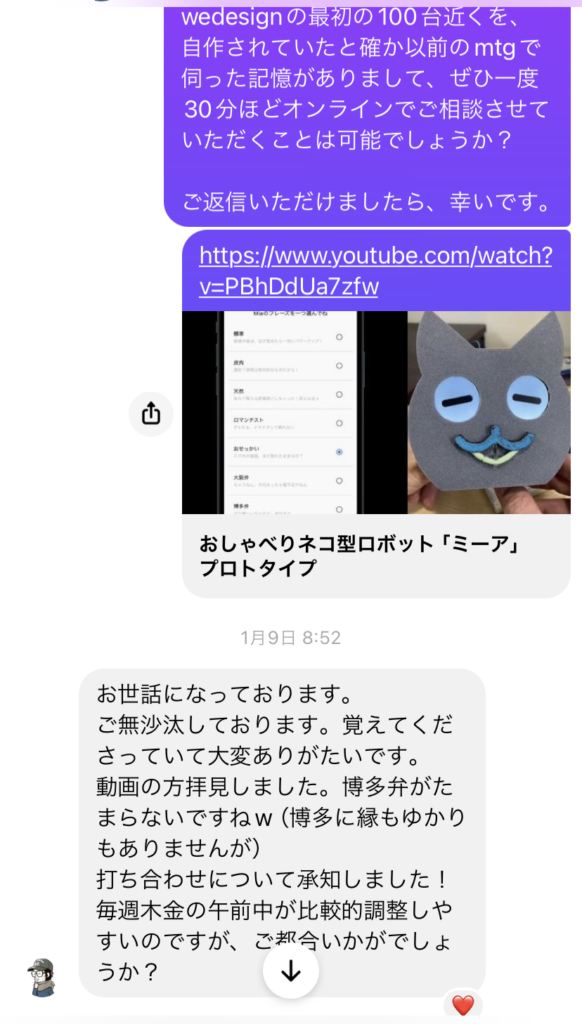
I started looking for someone I knew who might be able to help me with the design, and I thought, “Oh, I wonder if Inada-san could help me.” I sent the following message via Facebook messanger on January 9, 2024.
Mr. Inada is a designer who is also good at creating his own home appliances and working with clients from the planning stage to development and commercialization.
https://www.javasparrow.tokyo/
In-house product : IoT lighting “weesign” connected by light
Client Work (Design) : Automatic Open/Close Trash Can ZitA SQUARE
Client Work (Planning / Design) : XGO.
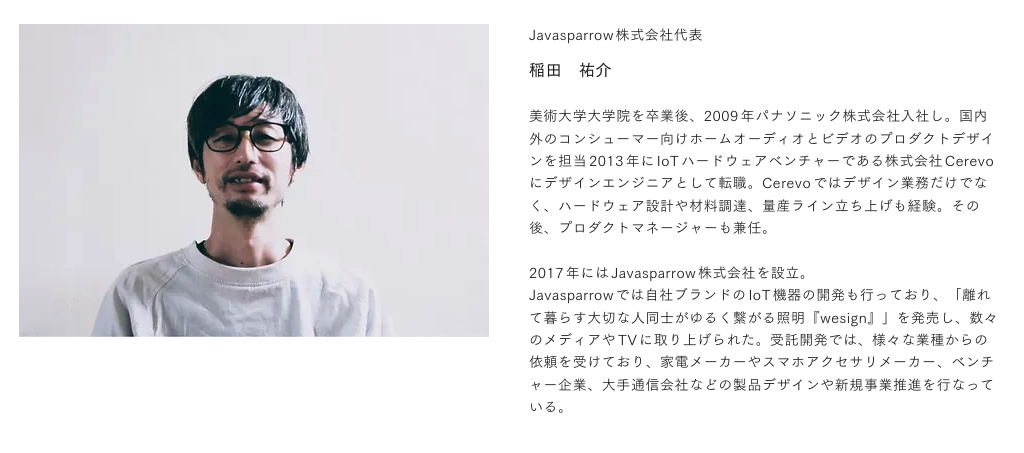
In this interview, we asked Mr. Inada about what he focused on in designing Mia and how he designed the chassis with mass production in mind.
Where to lodge the design in the shortest possible time
Yoshinaga
What was your impression when you first made the request from me?
Inada.
That’s right. Anyway, I strongly felt the will to release the product in the shortest route. So I decided to focus on where to lodge the design in the shortest route.
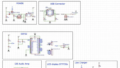
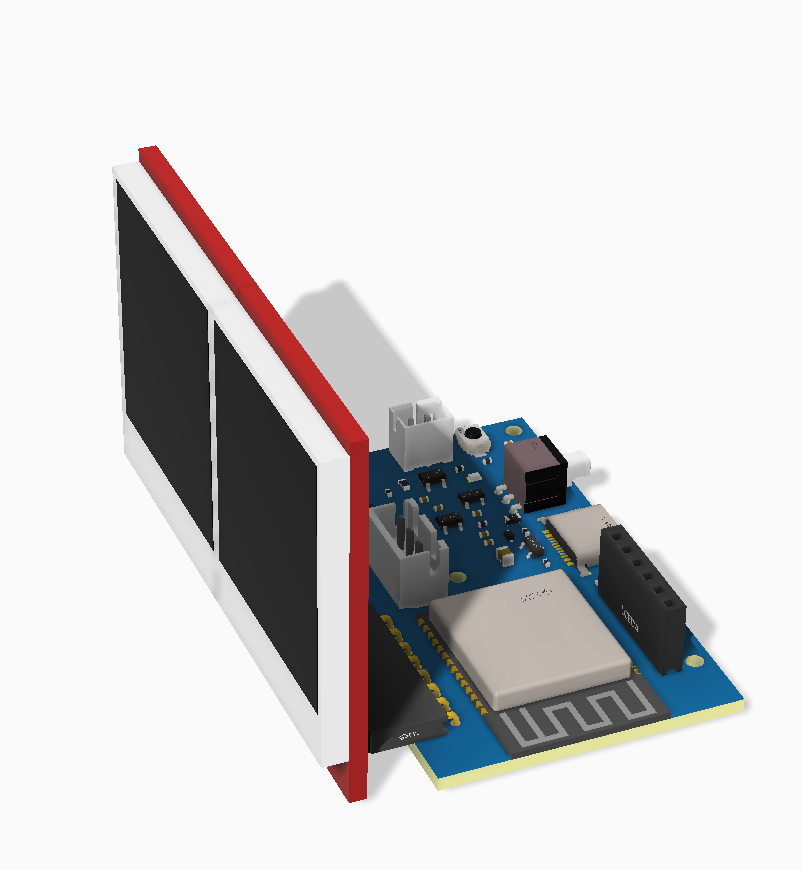
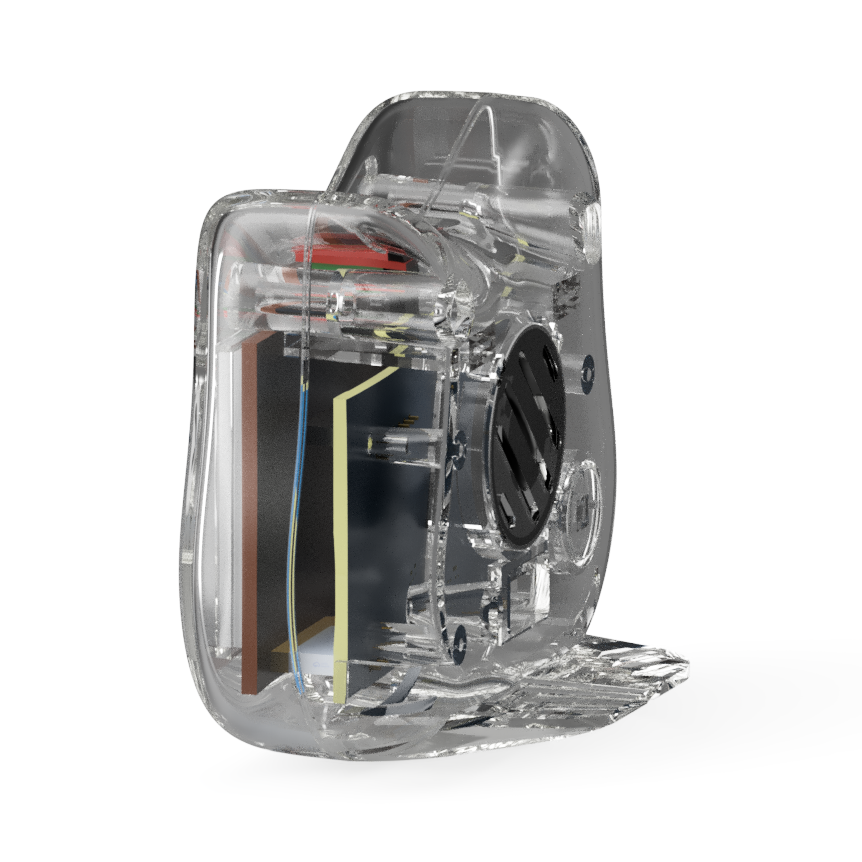
First of all, the board configuration when first requested was horizontal to the bottom, as shown in the figure below.

Therefore, the front side, where Mia’s eyes enter, is constrained to be flat, so we started thinking about what we could do as the front design while keeping it flat.
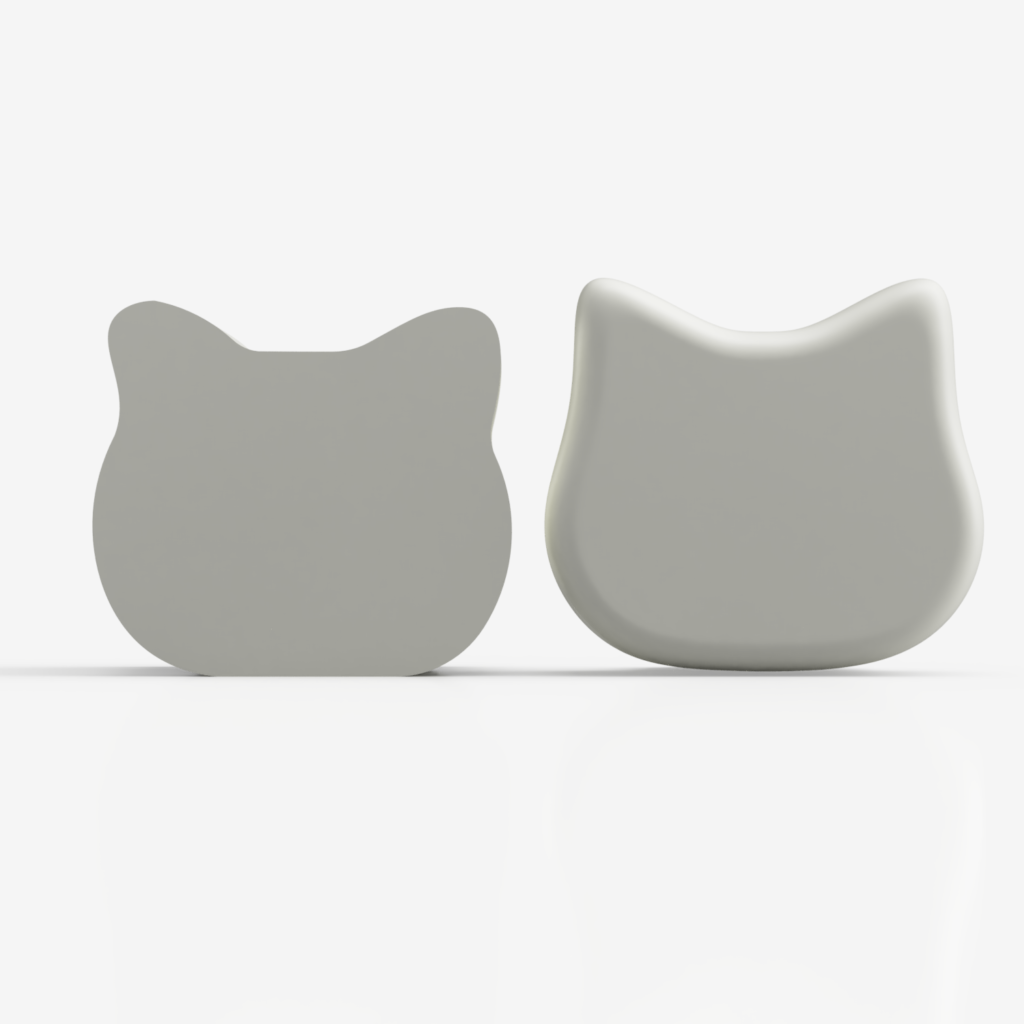
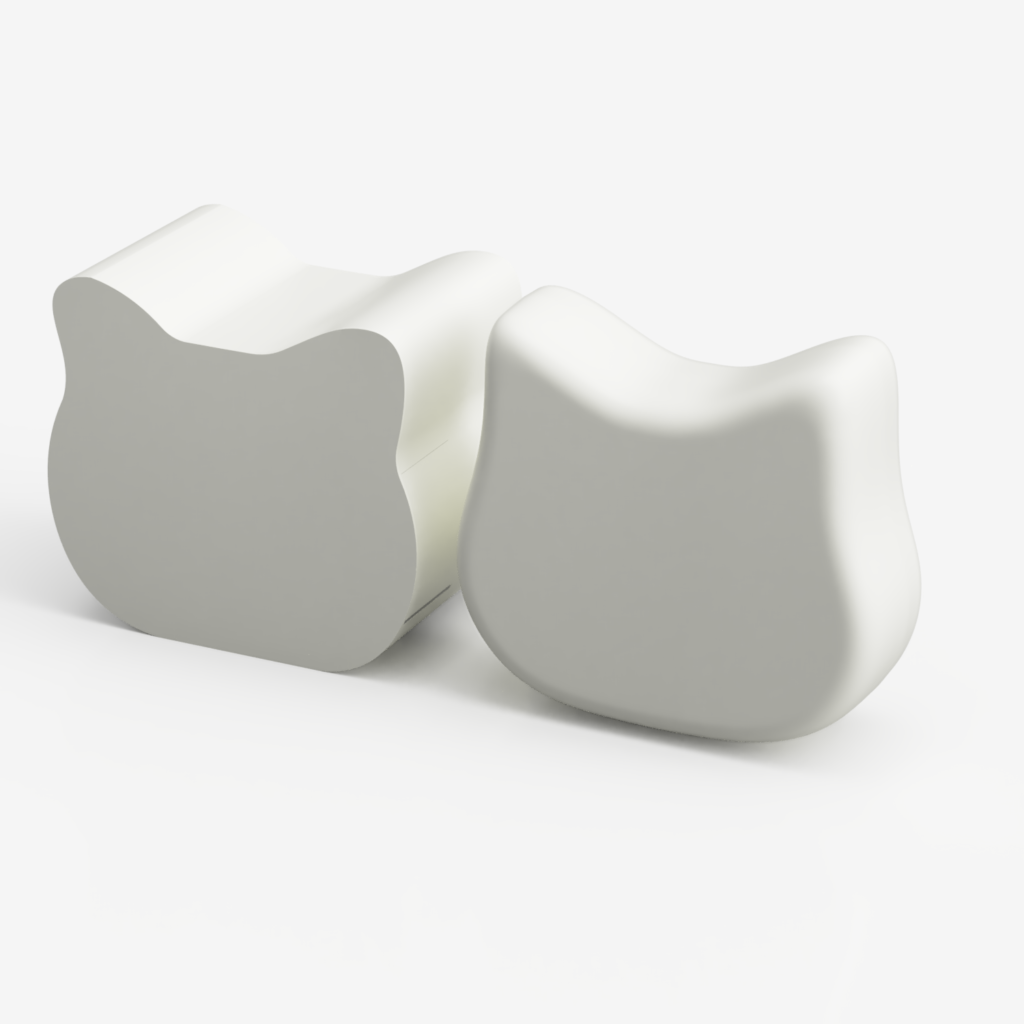
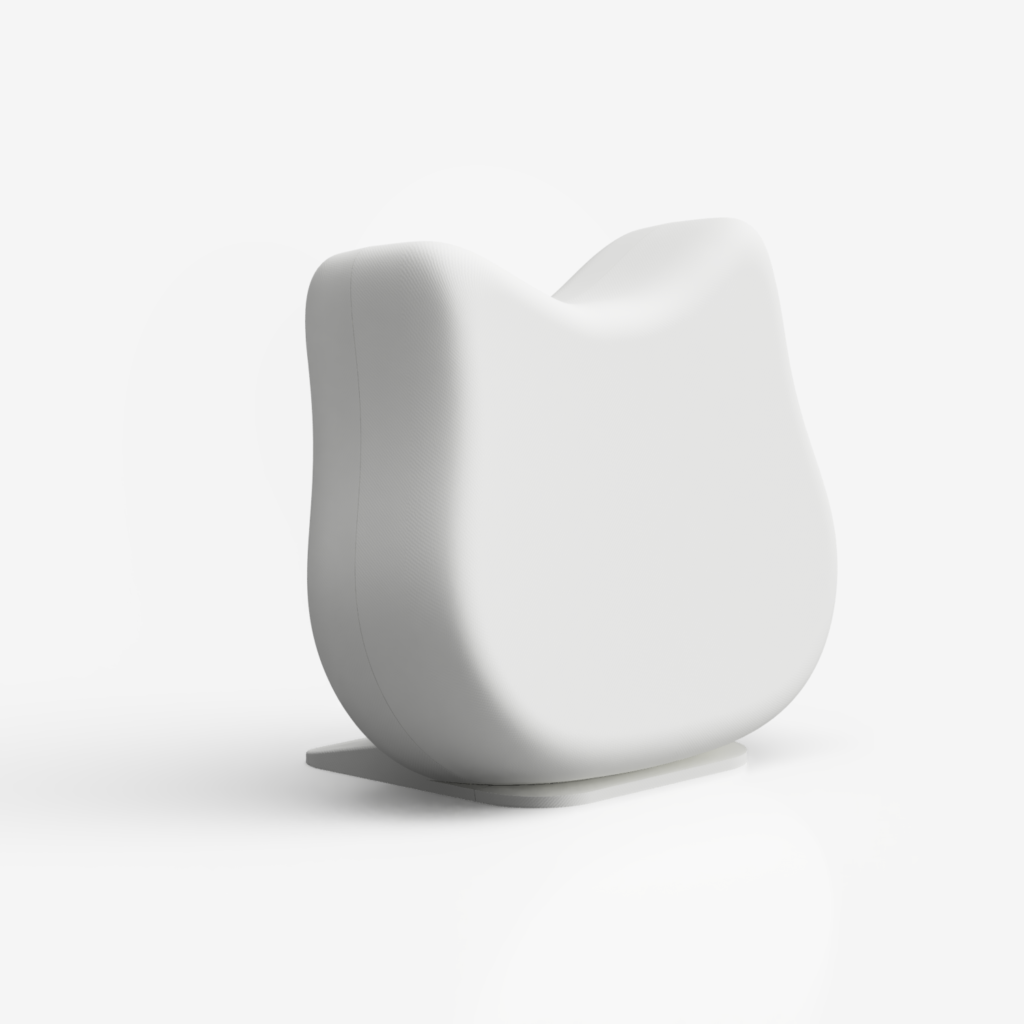
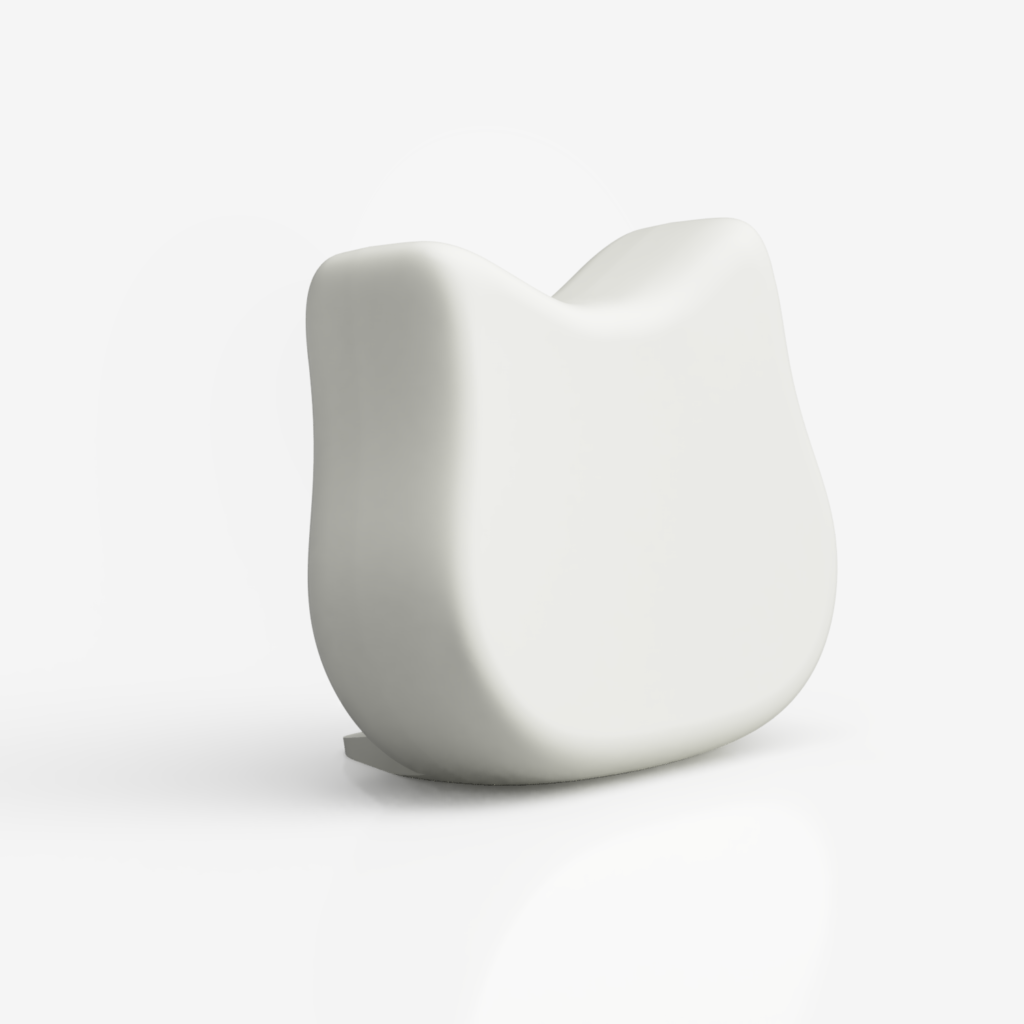
I started with the silhouette. I think the silhouette that Mr. Yoshinaga created at first was shown here (left in the figure below). I thought it was very cute, but when I wanted to add a little more cuteness, I wondered if it would be possible to express a more cat-like pout, so I proposed a new silhouette (see the right figure below ).
Propose a reasonable board configuration from the design stage.
Inada.
Another thing we did was to propose a substrate configuration from the design stage that was not unreasonable.
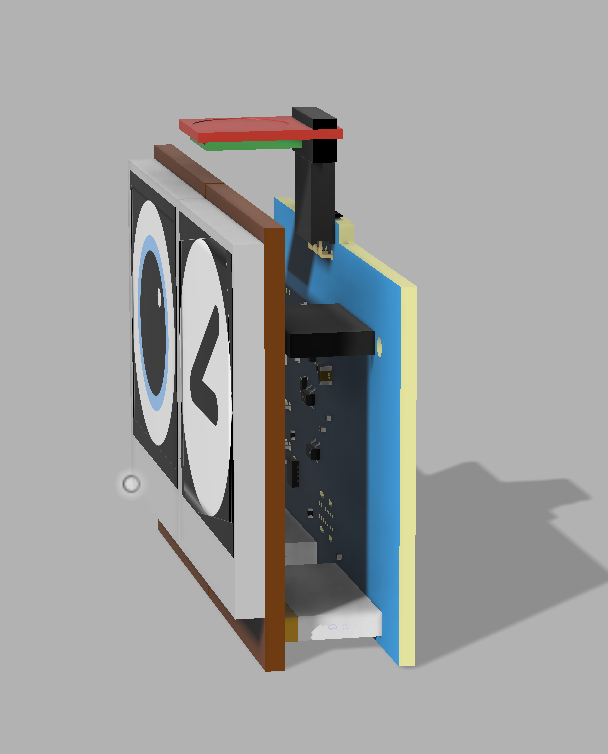
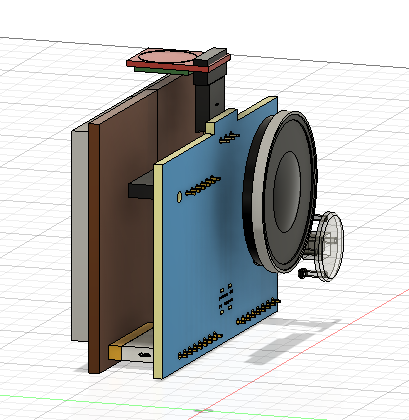
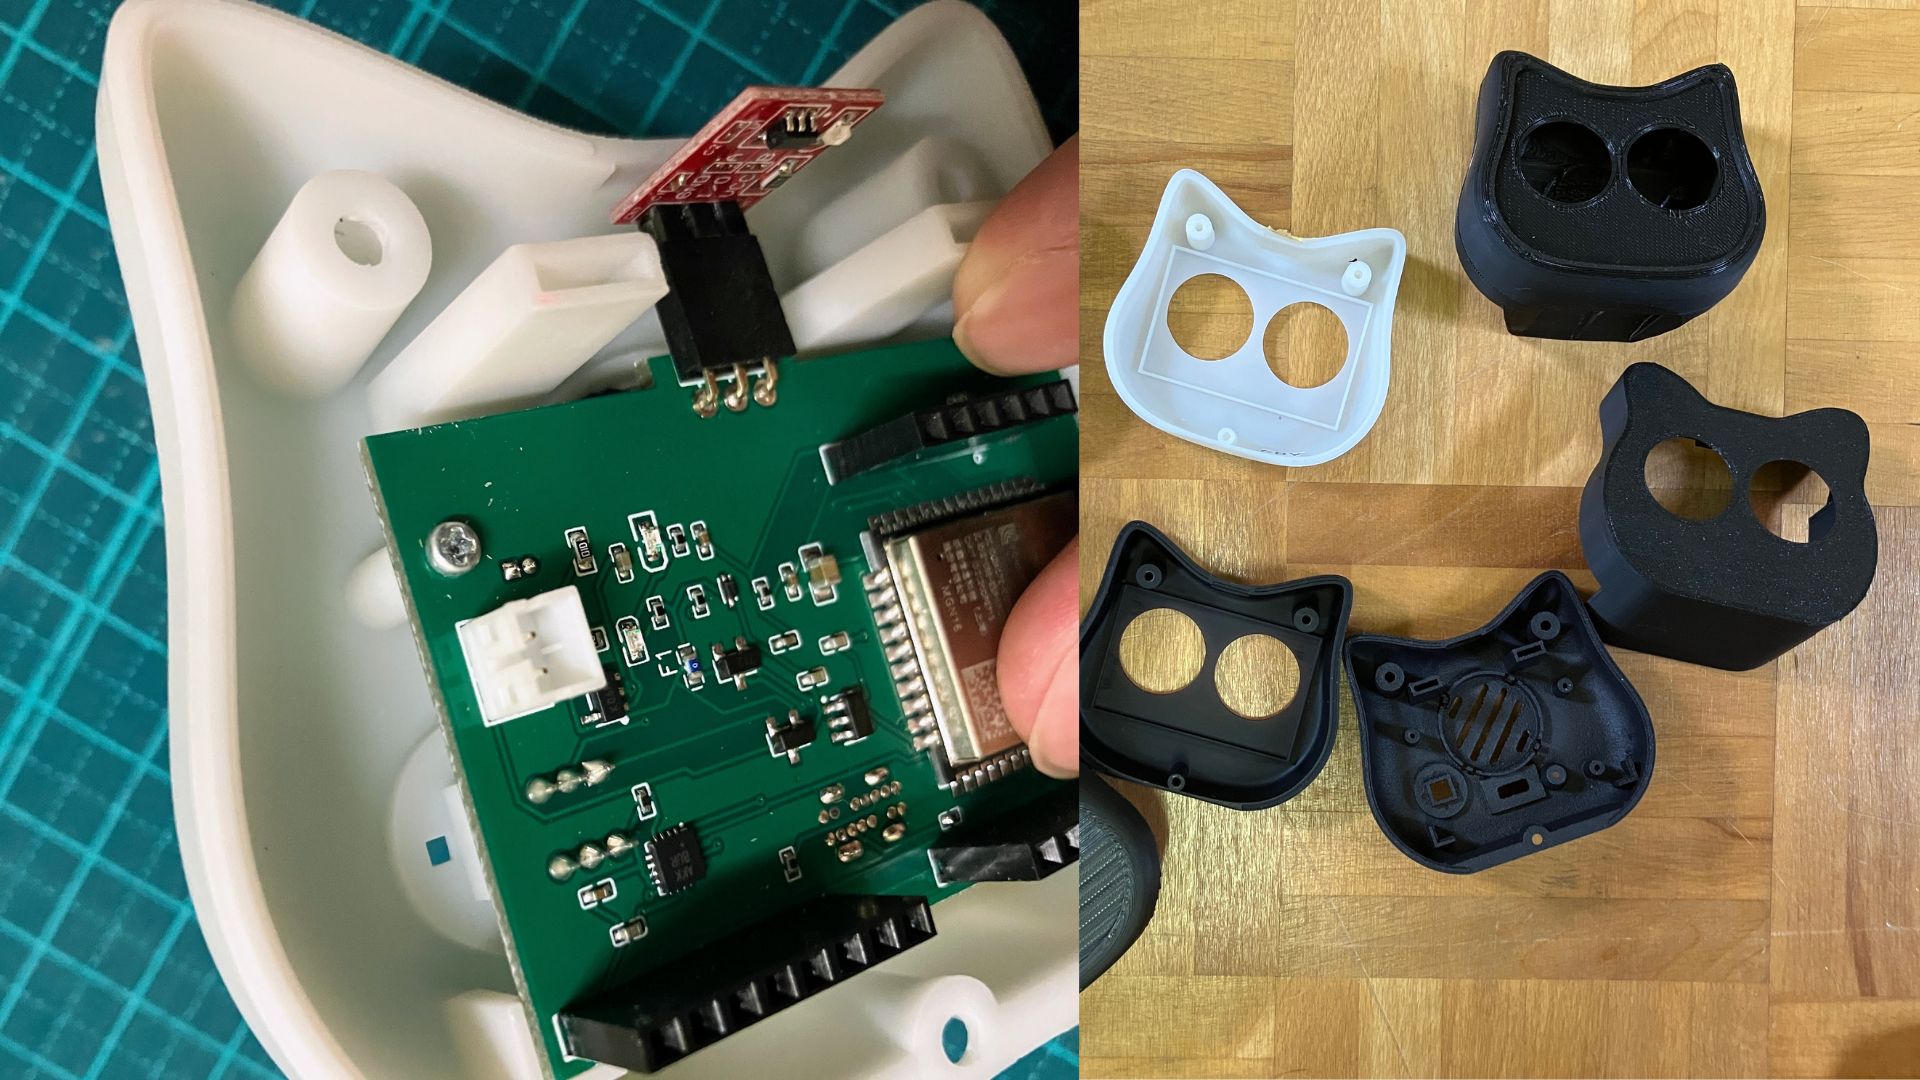
Originally, the board was designed to be horizontal to the bottom, as shown here, but during discussions with Mr. Yoshinaga, we wondered what kind of board modification we could make, and we asked ourselves, “If we change the angle of the connector between the board and the eye display, can we make the board vertical to the bottom? Can we reduce the depth of the board? I made this suggestion.
This was a major change in determining the design of the Mia body.
Yoshinaga.
Yes, I think so. By making the substrate perpendicular to the bottom, I think it has a prettier shape that fits more comfortably in the palm of the hand.

How to create a rounded design?
Yoshinaga
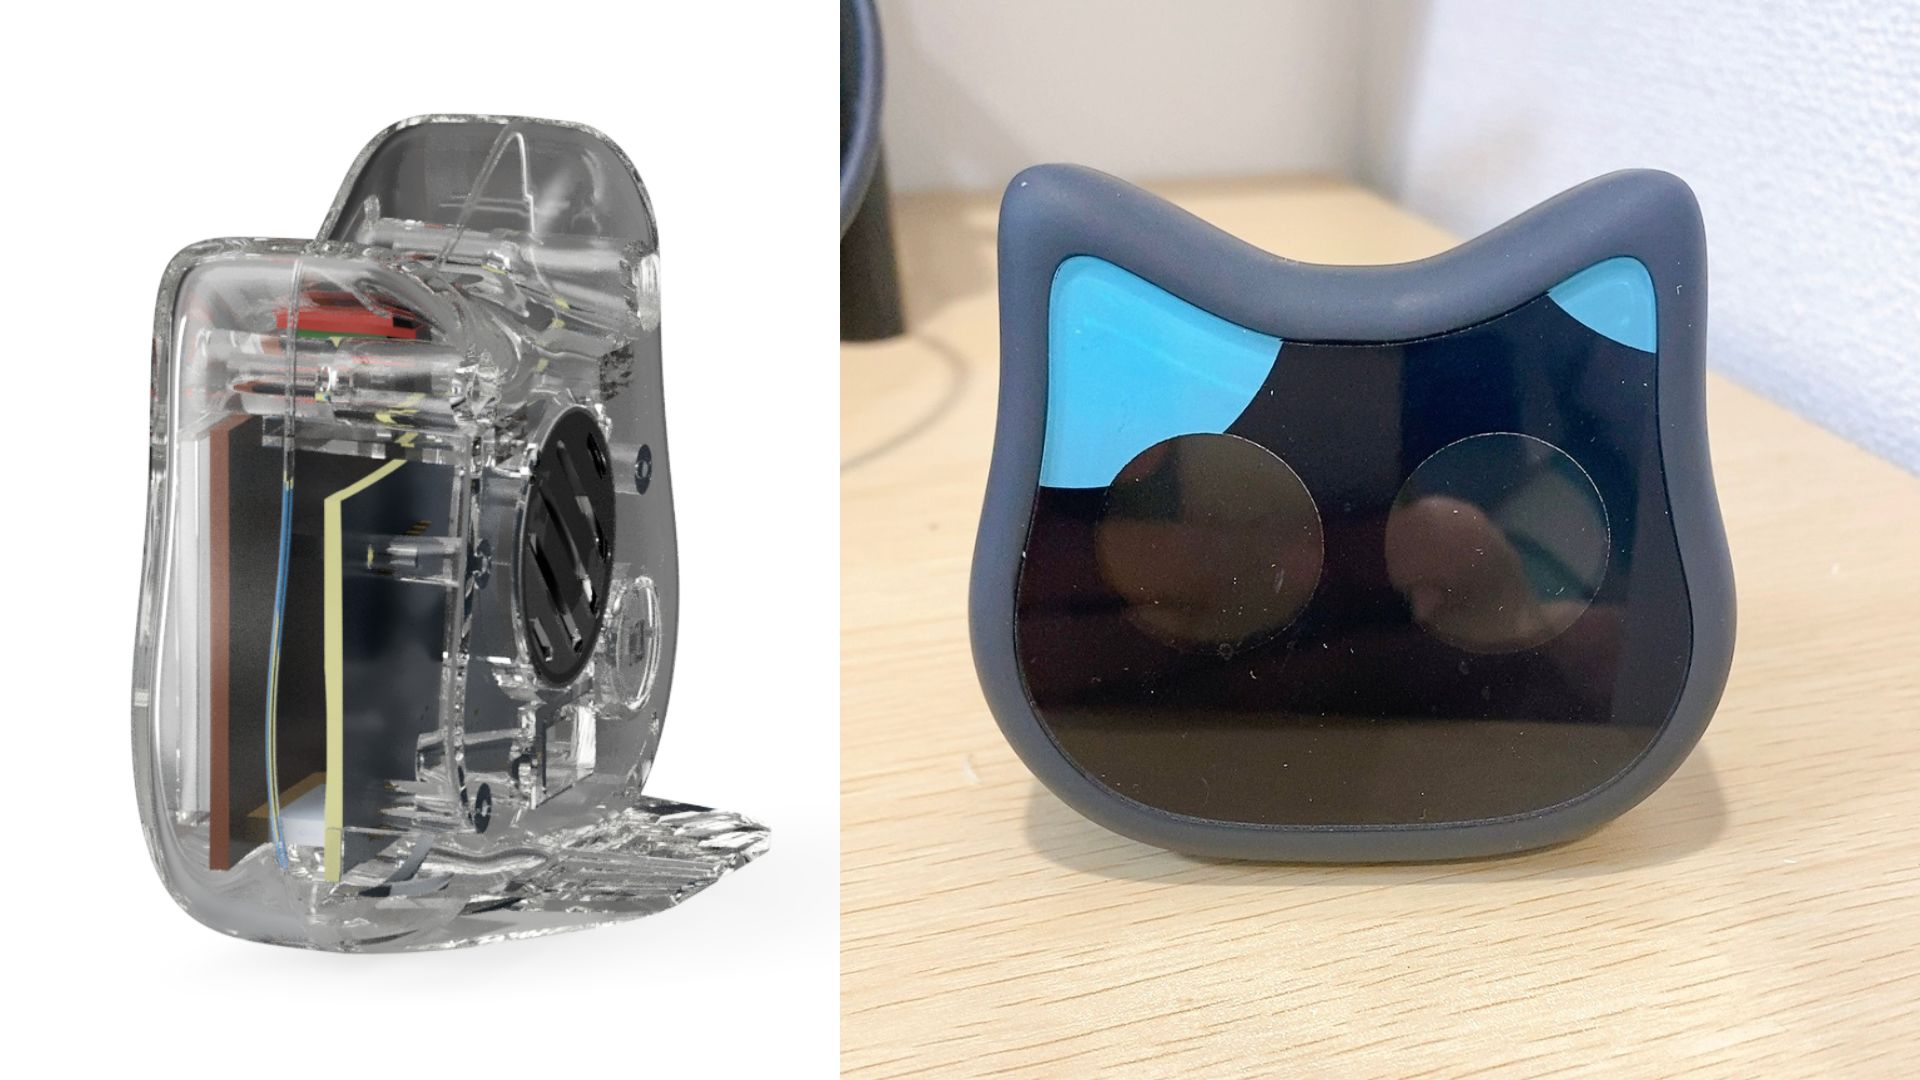
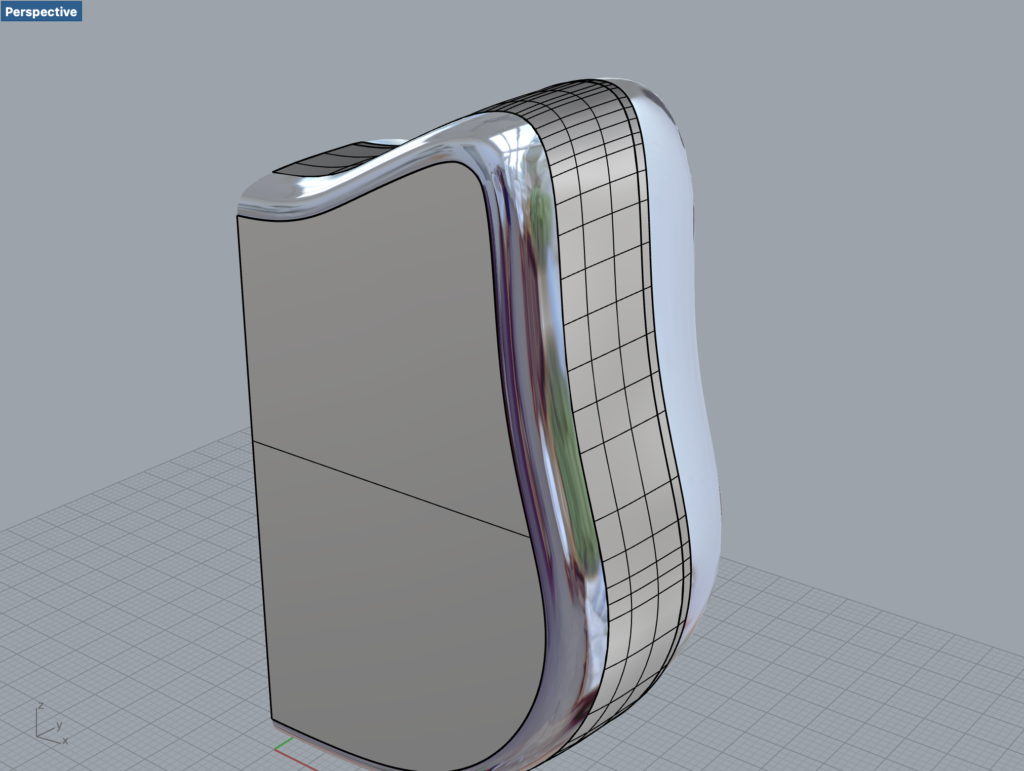
I still remember how surprised I was when I saw the CAD data of Mia’s rounded design.
I wanted to make the mia as rounded as possible, and I tried using fillets and other methods in a 3D CAD software called fusion360, but the curvature of the front profile limited my ability to make the entire surface rounded with fillets, and I was about to give up. I was about to give up.
Inada.
We are actually very ingenious here, and use a method that fusion360 cannot do.
We use a 3D modeling tool called Rhinoceros, which uses a 2-rail sweep technique (modeling a surface from tworails ).
In this way, the joints are not completely invisible, but they can be made difficult to see, and very smooth curves can be expressed.
Yoshinaga.
That’s right. Compared to the one I created with fusion360, which I struggled with, it is a world of difference. When I saw the finished product, I remember being amazed at how much I could express with 3D CAD.
How to make it look less like a machine
Inada
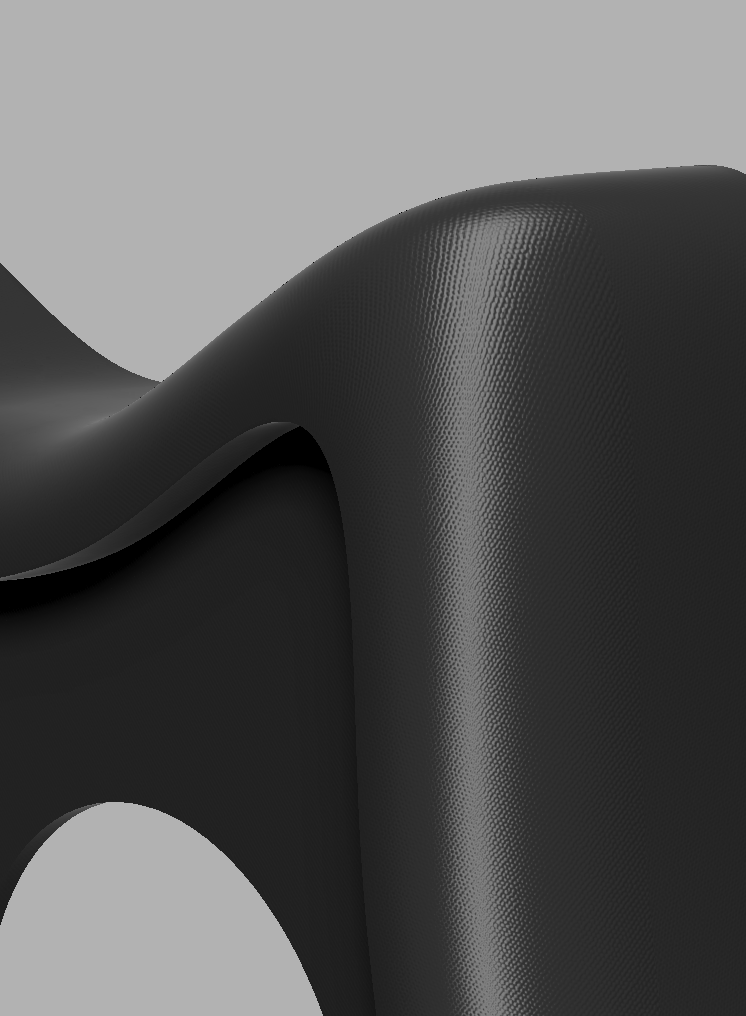
Initially, there were a few feet sticking out of the base of the mia, but we thought it was also important to make it look less mechanical, so in the end we made the feet invisible from the front.
By doing so, I think I was able to create a design that is more unobtrusive to Mia’s cuteness. Maybe the theme of all this is “not disturbing cuteness.

Yoshinaga.
I also considered the angle of Mia.
Inada.
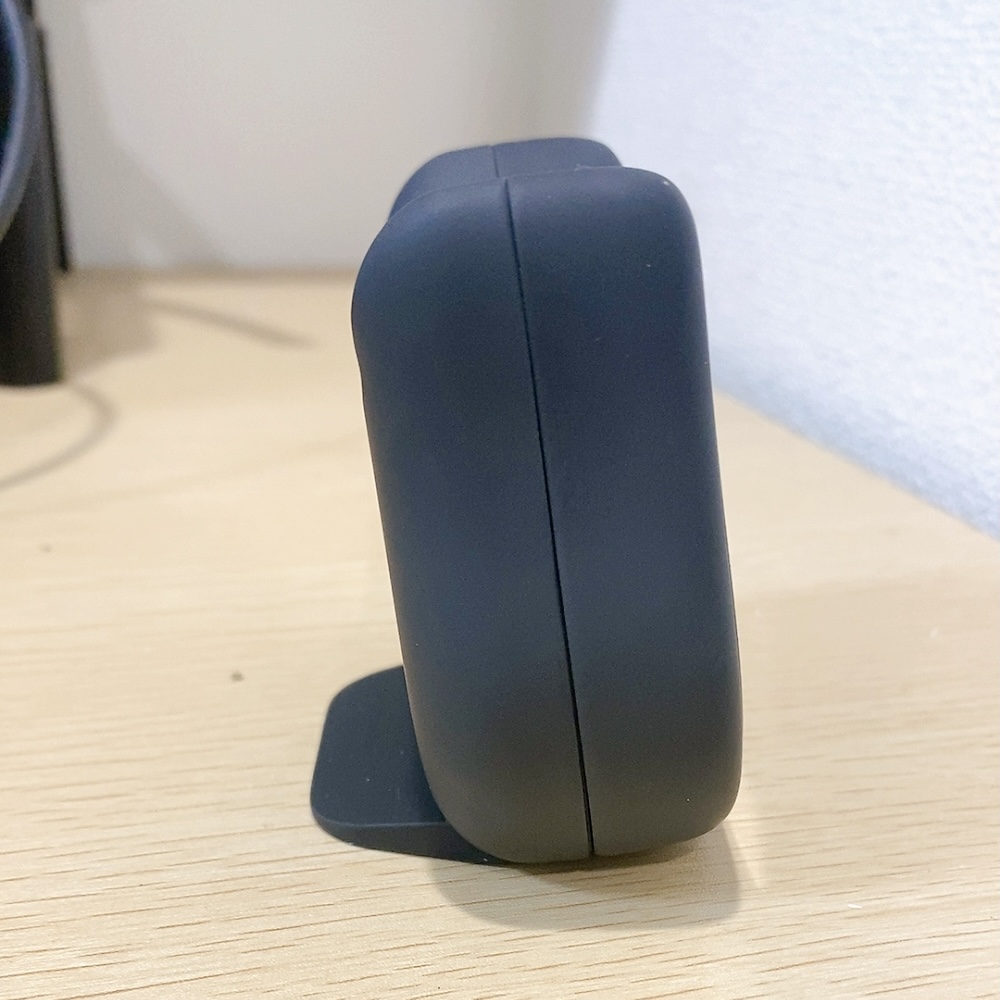
Yes, that’s right. At first, I had set the angle to the desk at 7 degrees, but when I thought about actual usage scenarios, I realized that in many cases, users would place Mia near them while sitting at their desks in their work rooms, and in that case, they would feel as if they were looking at Mia from above.
So we raised the angle a bit so that when the user is sitting in the chair and sees Mia on the desk, Mia is not facing too far downward, and we ended up with a 10-degree angle.
Yoshinaga.
We fine-tuned the angle one degree at a time, and verified each time, “How does this angle look like when you sit in the chair and look at Mia?” I verified each time.
Clear panels for customizability
Inada.
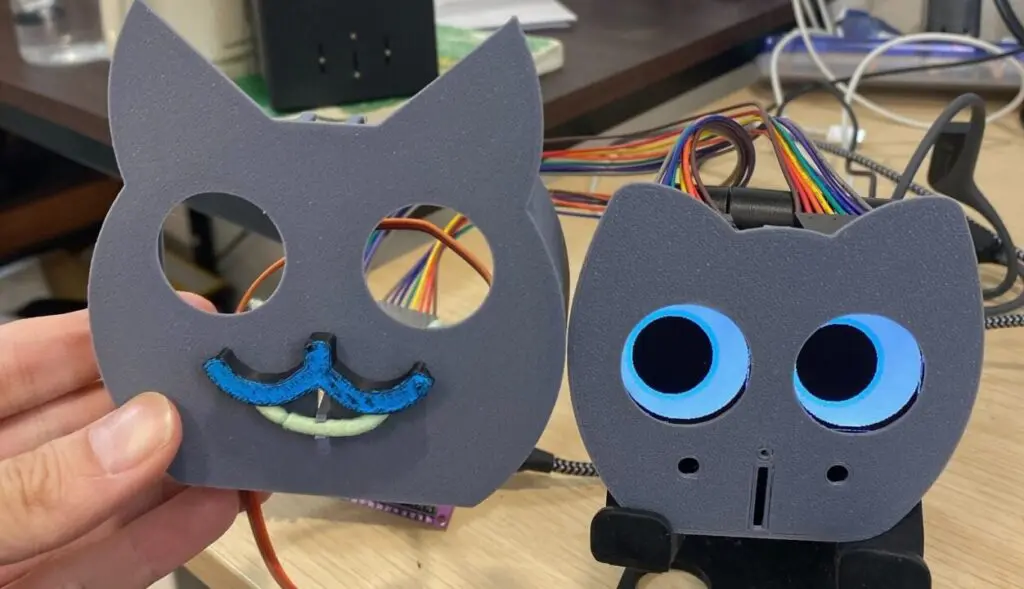
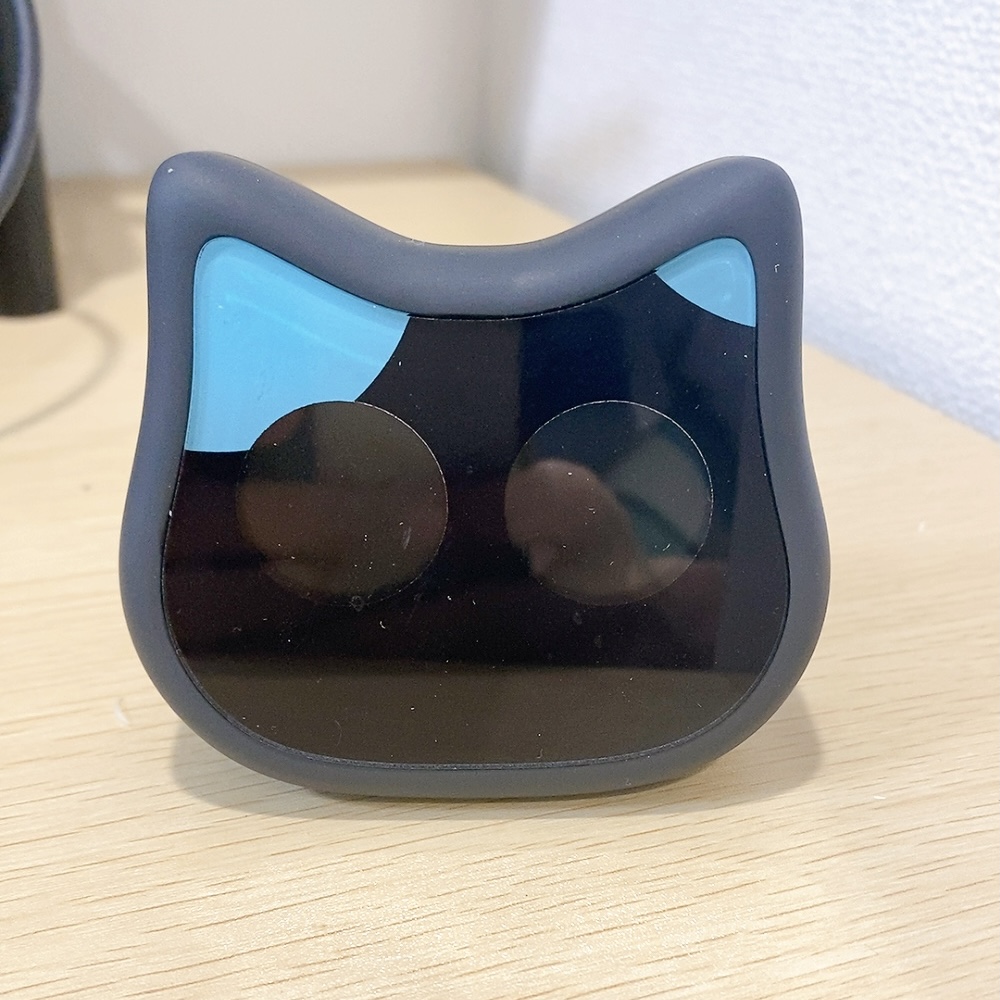
This was an idea that came up during the process, but since Mia was originally characterized by its diversity of dialects, we thought it would be better if we could include local character elements in the design of the main unit. The customizability of the design came up as a topic of discussion.
Yoshinaga.
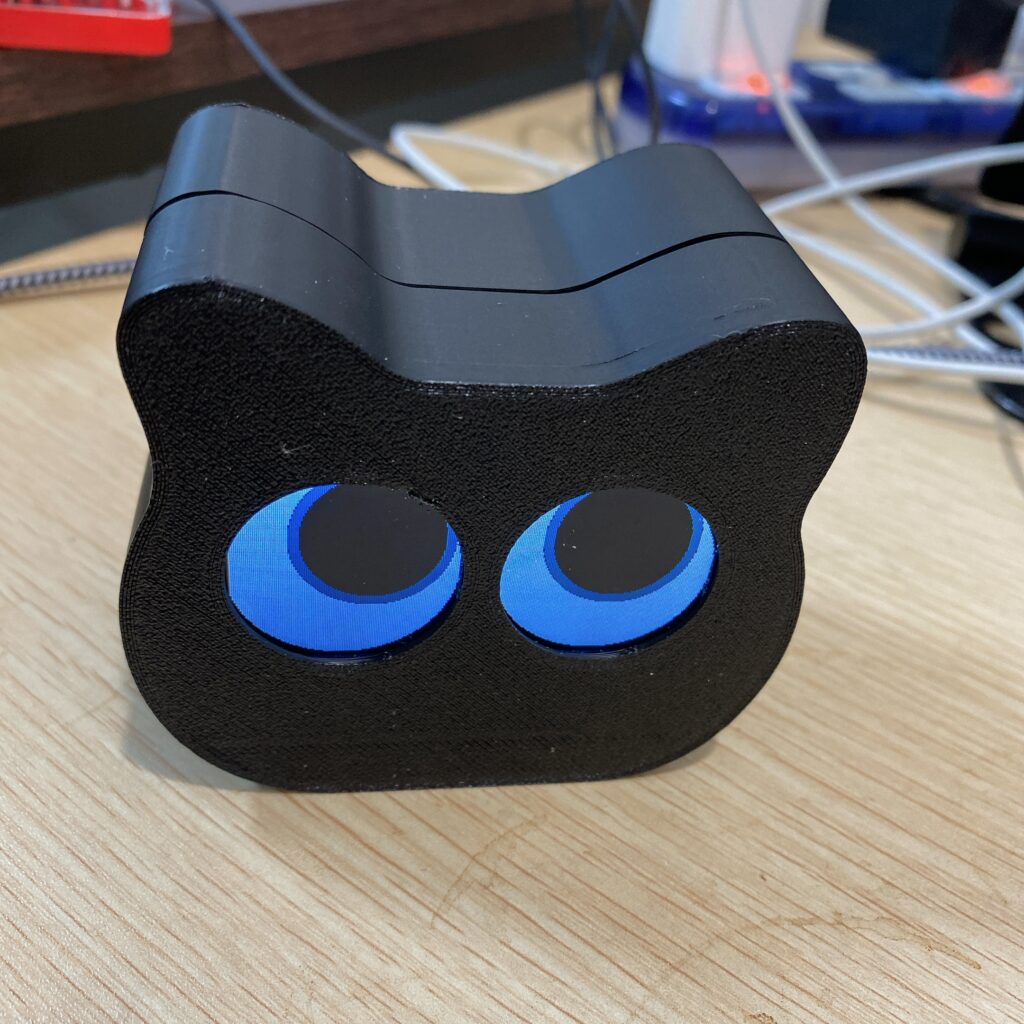
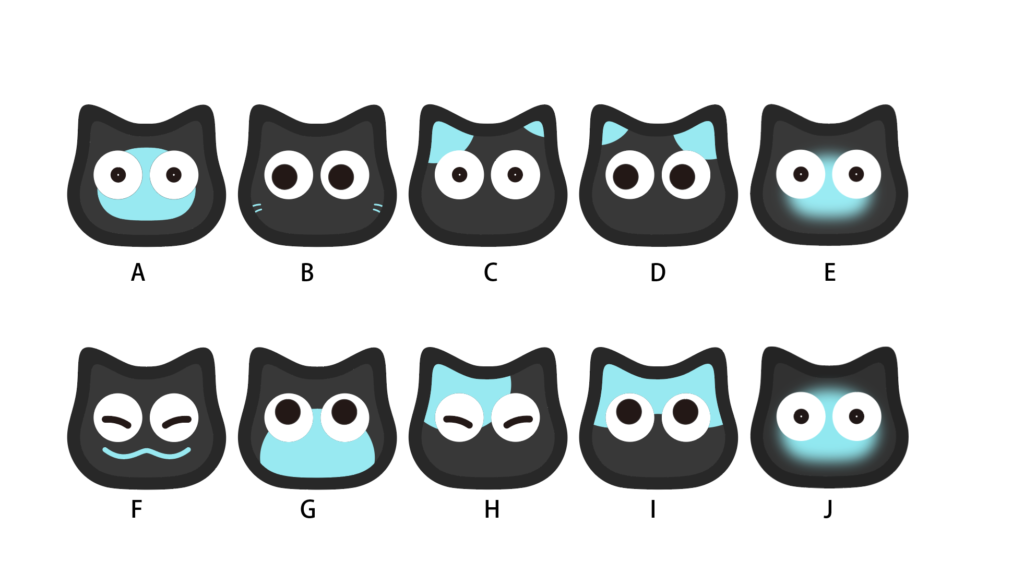
At first, we thought that it would be a good idea to use a 3D printer to create regional specialties (e.g., apples for Aomori, grapes for Yamanashi) and attach them to Mia’s ears. We also came up with an idea like this. However, there was some concern that this would increase the cost of development.
Inada.
That’s right. Since the time frame for release was limited, we wanted to find a method with as few hurdles as possible, and finally arrived at the method of printing clear panels and fitting them into the main body of the Mia.
We asked the designer to create about 10 patterns for the clear panel design, and after actually printing and fitting them to the main body of Mia, we discussed and decided which design would be best for everyone.
Yoshinaga.
In the end, white Mia became design A and black Mia became design C. I personally think that this design is also good when I look at it now.
Whether or not we actually do this depends on customer needs, but if users upload a design for a clear panel of Mia from the app, we can print a clear panel of that design and fit it into the Mia itself to deliver a one-of-a-kind Mia, which we would like to do if the need arises. If there is a need, we would like to respond to it.
Possibilities of 3D printers felt at JLCPCB
Inada.
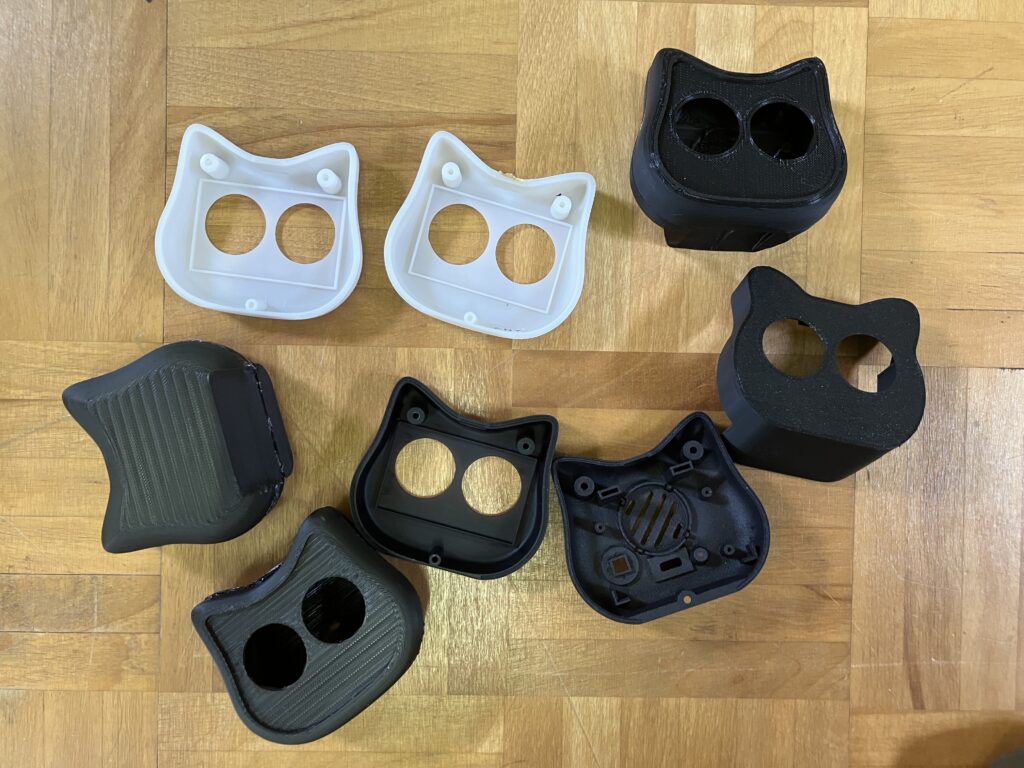
We also considered “whether to do it with a die or some other method” when creating the first small lot of 100 units.
It just so happened that I had to deal with JLCPCB’s 3D printing service for another job, and the accuracy of the 3D printer was unexpectedly high, so I decided to take a chance on this possibility and chose the 3D printer.
- Mold: 1,000,000 yen or more, 50 days or more until delivery
- JLC PCB: Amount of money for the quantity ordered and delivery in about 10 days.
Yoshinaga.
Yes, that’s right. Recently, the precision of 3D printers has been improving, and I had a sense of anticipation that perhaps Mia could be made with a 3D printer. But when I actually saw the 3D printer delivered from JLCPCB, I was surprised to see that the quality was beyond my imagination, as if it was at the product level.
Since hardware tends to be costly, we wanted to avoid cash-outs only, so we were very happy with this choice.
Inada
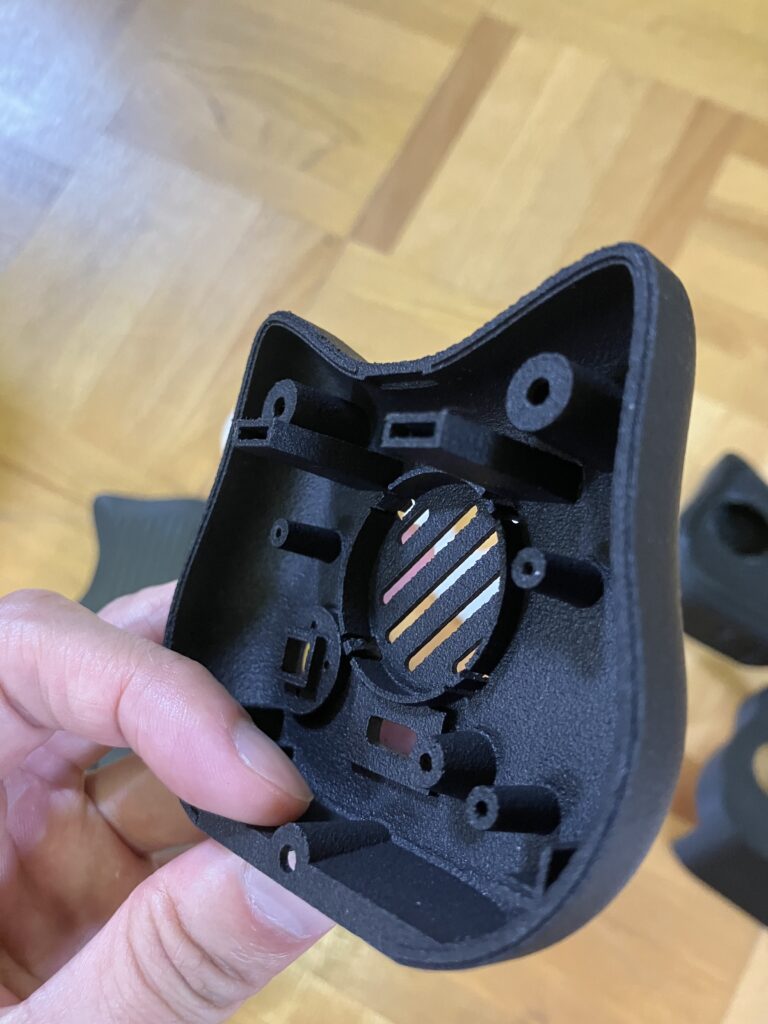
Also, hardware is often found to be faulty after it is assembled, so we made sure that it can always be disassembled, is easy to disassemble, and can be easily modified later in the design.
We tried to design the product so that it would be as difficult as possible to assemble due to the design.
Design design for immediate trial but with mass production in mind.
Inada
Mass production here refers to 500 or more pieces.
This 3D design data is data that can be used to create molds as is. Specifically, the data already takes into account “consideration of wall thickness, draft gradient, and direction of mold extraction,” which need to be taken into account in the mold for mass production. We also know the cost of the mold at the original point in time.
These are not taken into account in most of the lapidary prototypes, as they are commonly called, but as for Mia, we also took the speed there into account.
Basically, after designing the first prototype, it is normal to redesign the housing design for mass production, but since the board and software were already ready for mass production, we felt that we should not drag our feet on the design and geometry side, so we decided to keep the current data almost as it was. We decided to leave the data almost as it is now, so that we can handle injection molding of more than 500 pieces.
Yoshinaga.
I see that you have already taken that into consideration. Thank you very much.
We spoke with Mr. Inada, who is working on the design and mass production design of the Mia main unit. I learned a lot from his talk. Thank you, Mr. Inada, for taking the time for this interview.