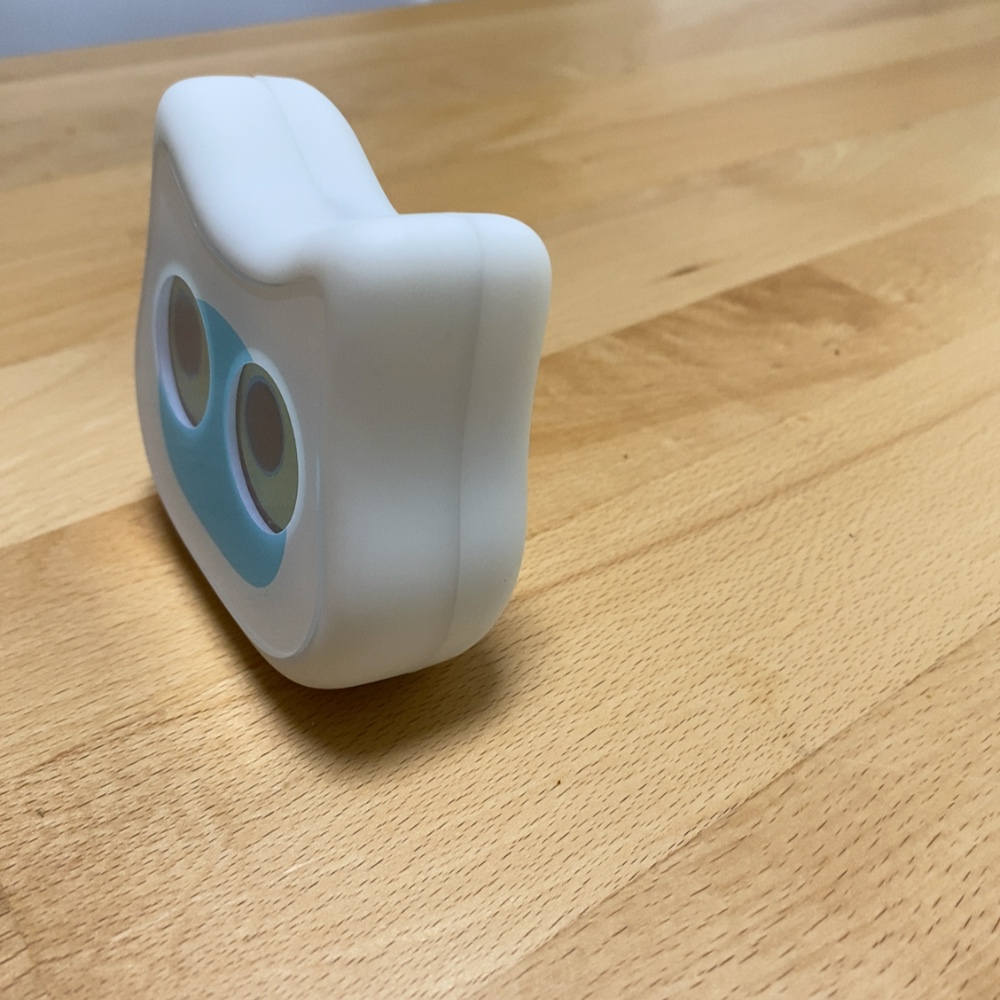
Introduction.
Mia, currently in beta release, is rechargeable, but it can be disassembled and fitted with lithium-4 batteries to make it an internal battery-powered device that can be carried on the go.
This article explains how to do this.
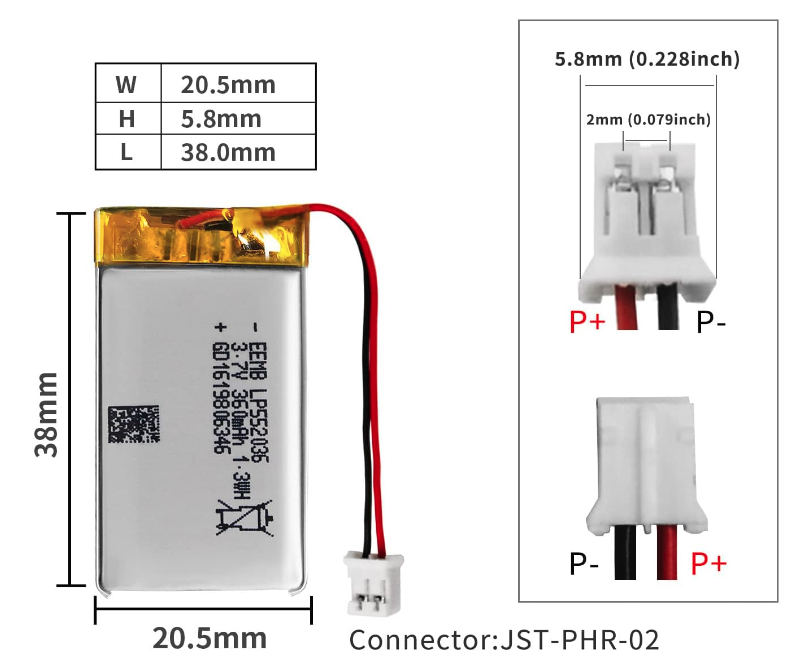
Lithium-ion batteries to be purchased
Please purchase lithium-ion batteries here.

As stated in the product details, please note that the terminals of the lithium-ion battery must be spaced 2 mm apart in order to be attached to the board.
Mia disassembled and installed lithium-ion battery
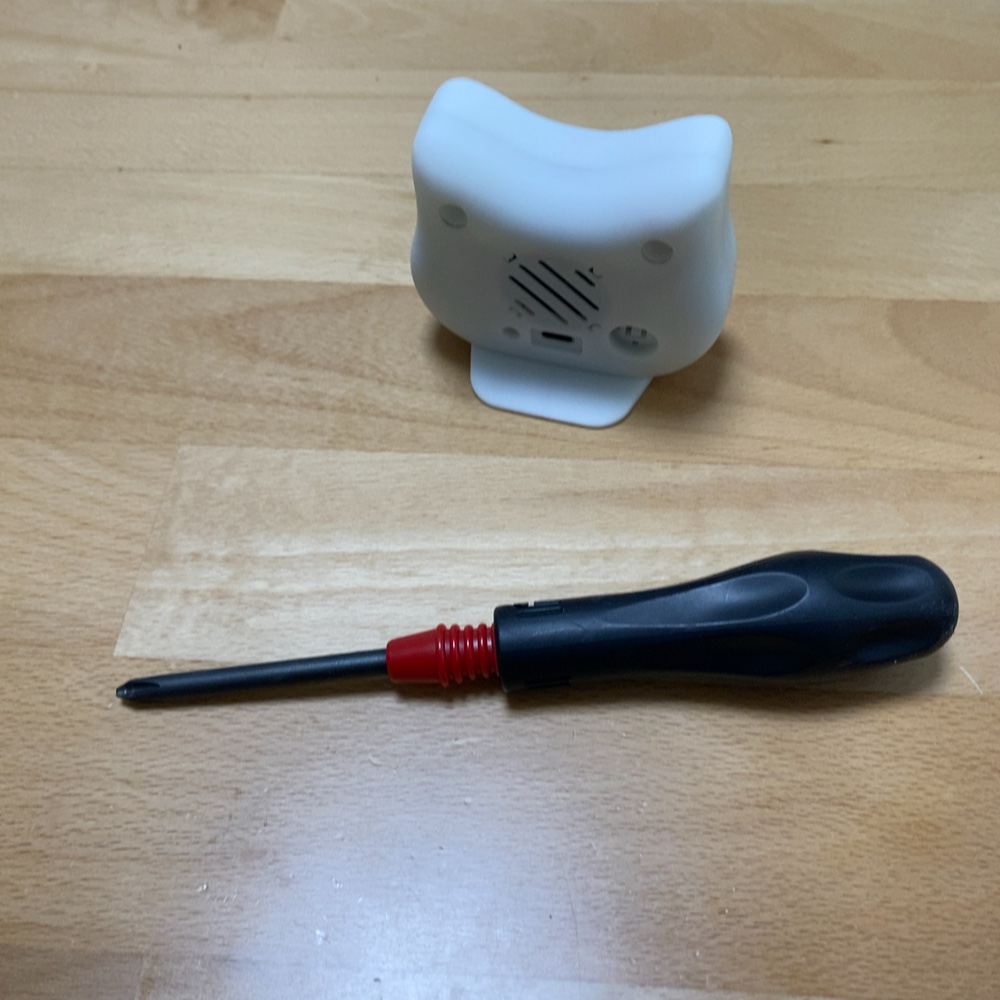
First, we will disassemble the main body of the mia.
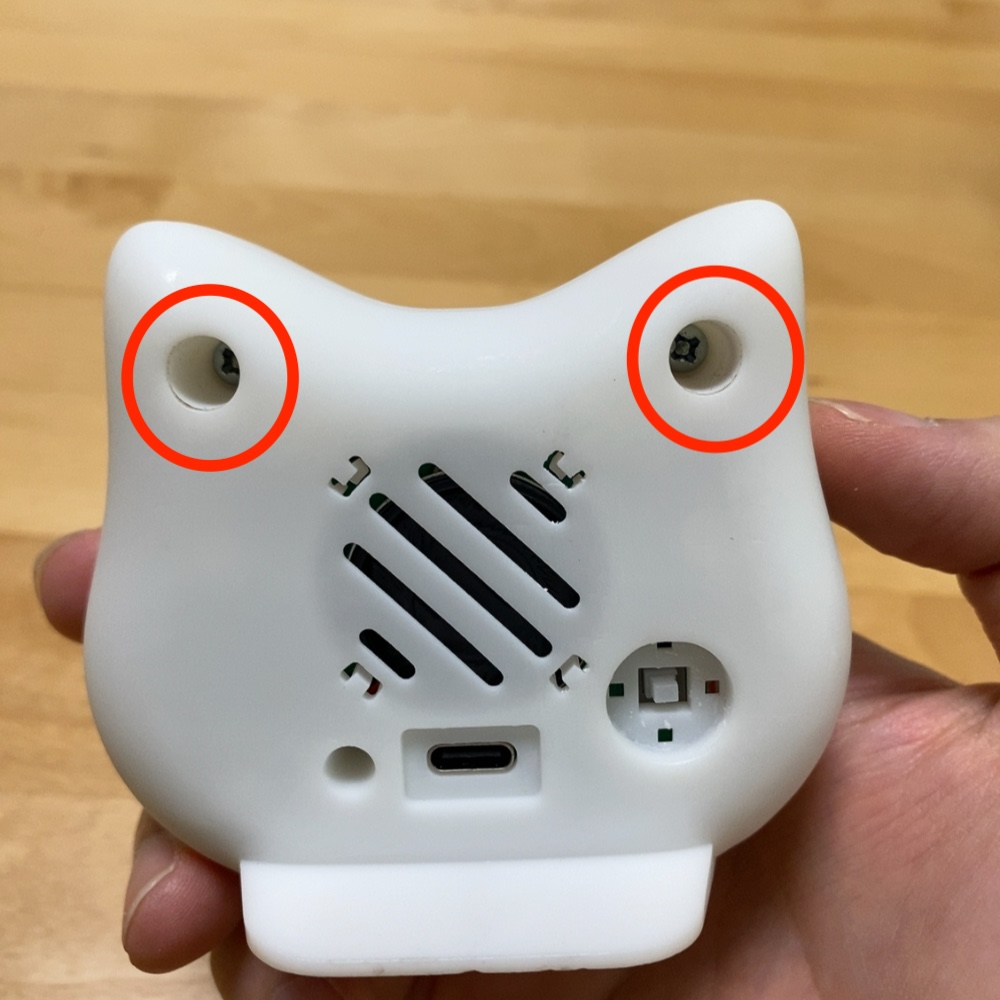
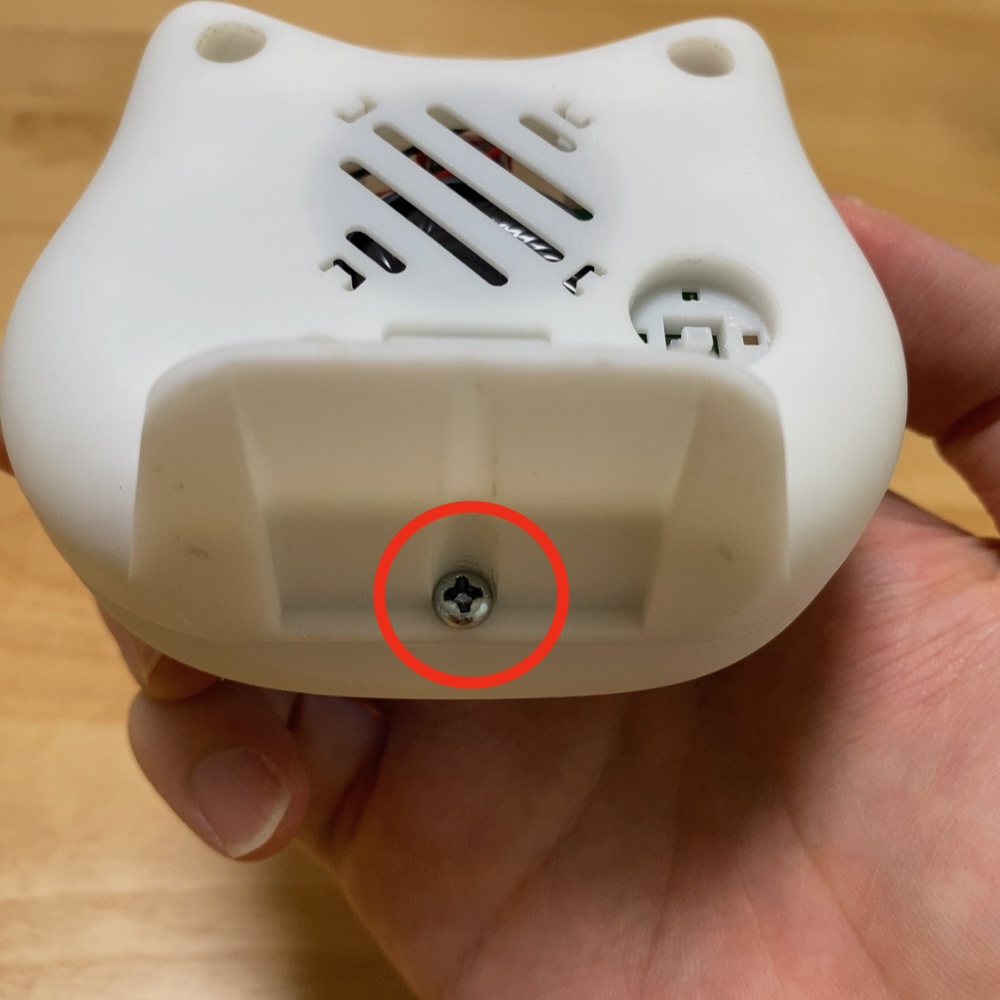
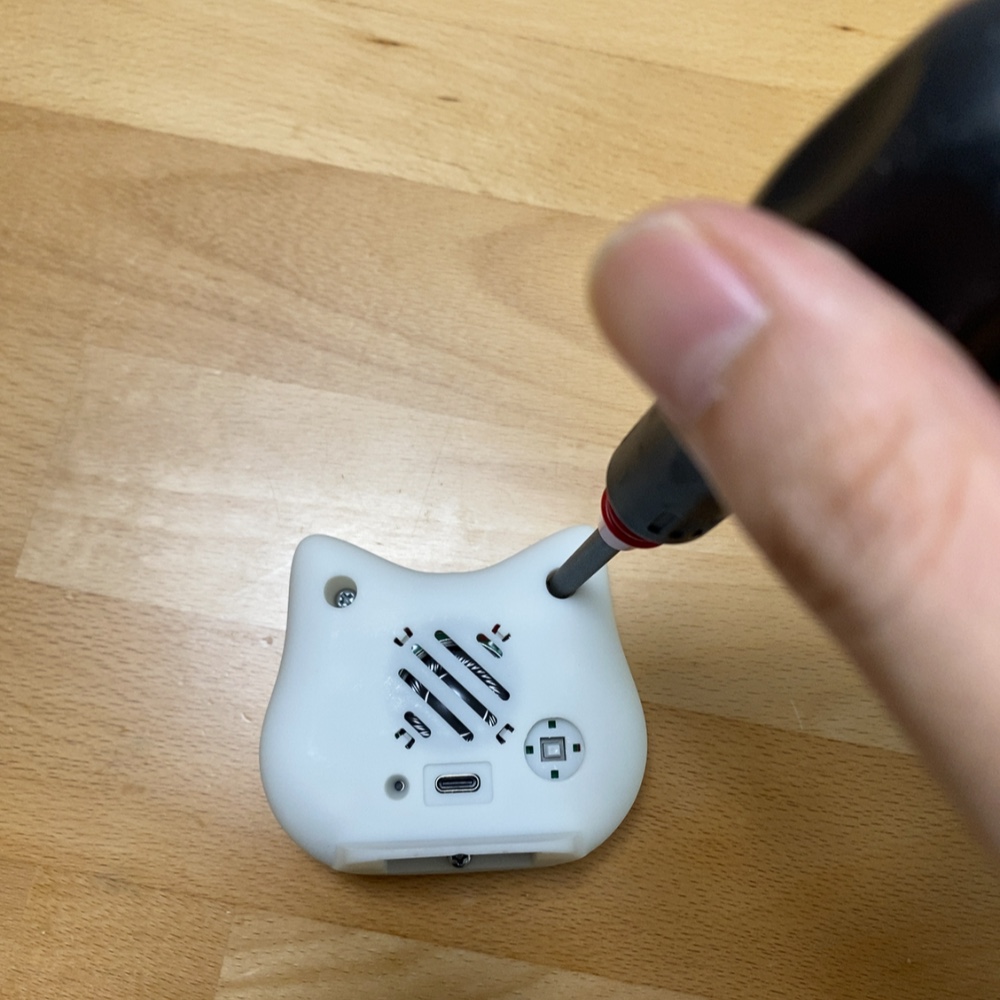
It is screwed in three places on the back side (two on the top and one on the bottom) with M3 screws (3 mm screws), which are loosened with a screwdriver and then removed.
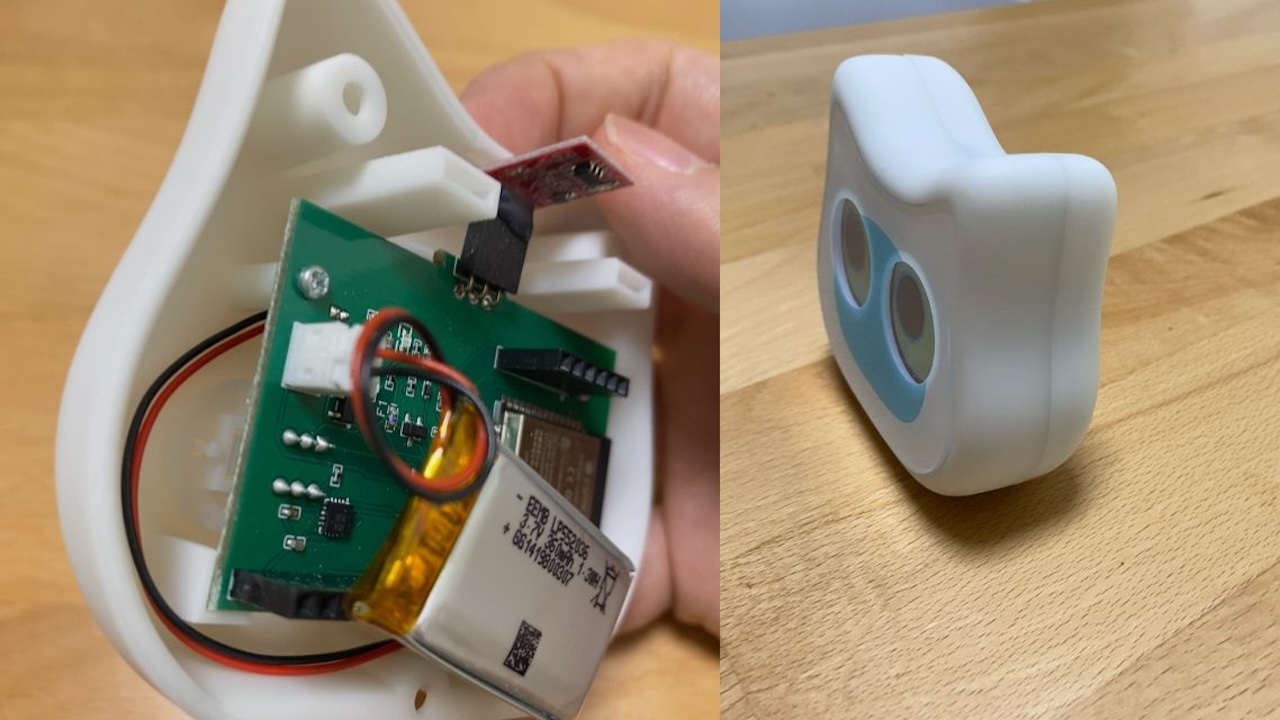
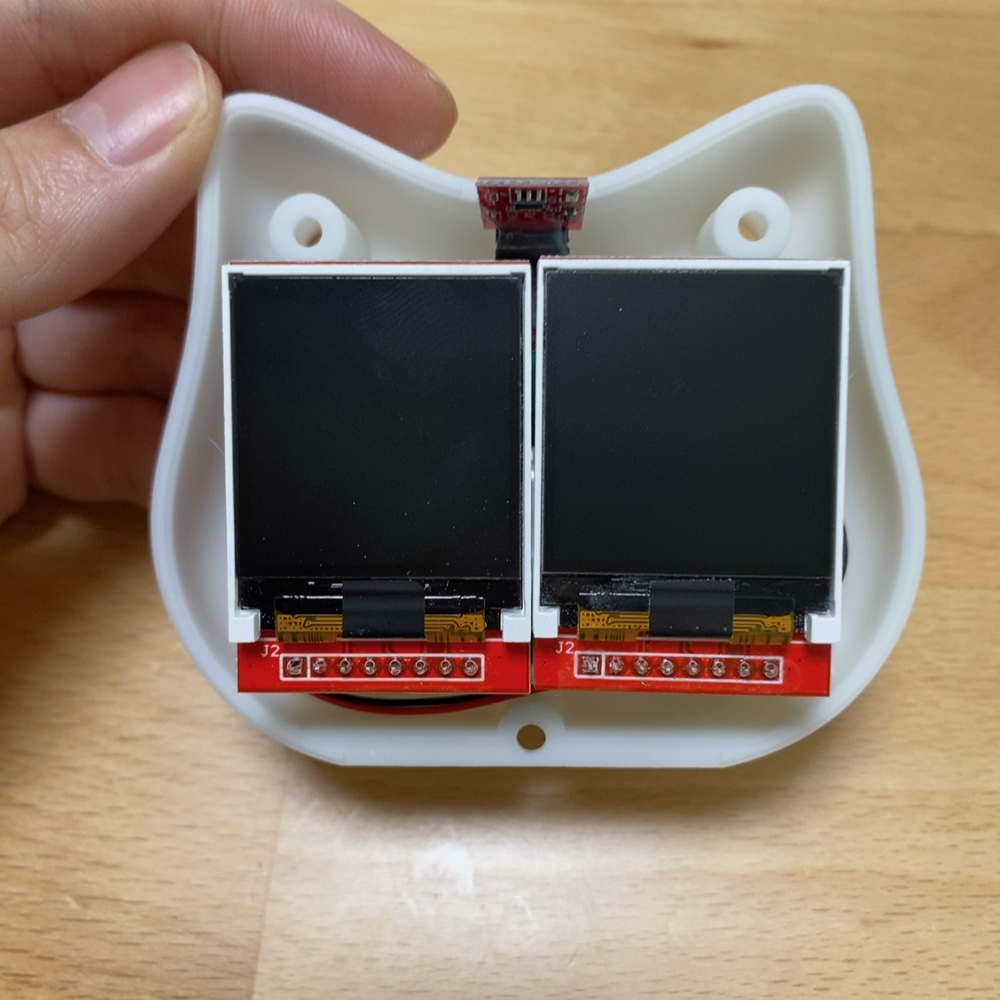
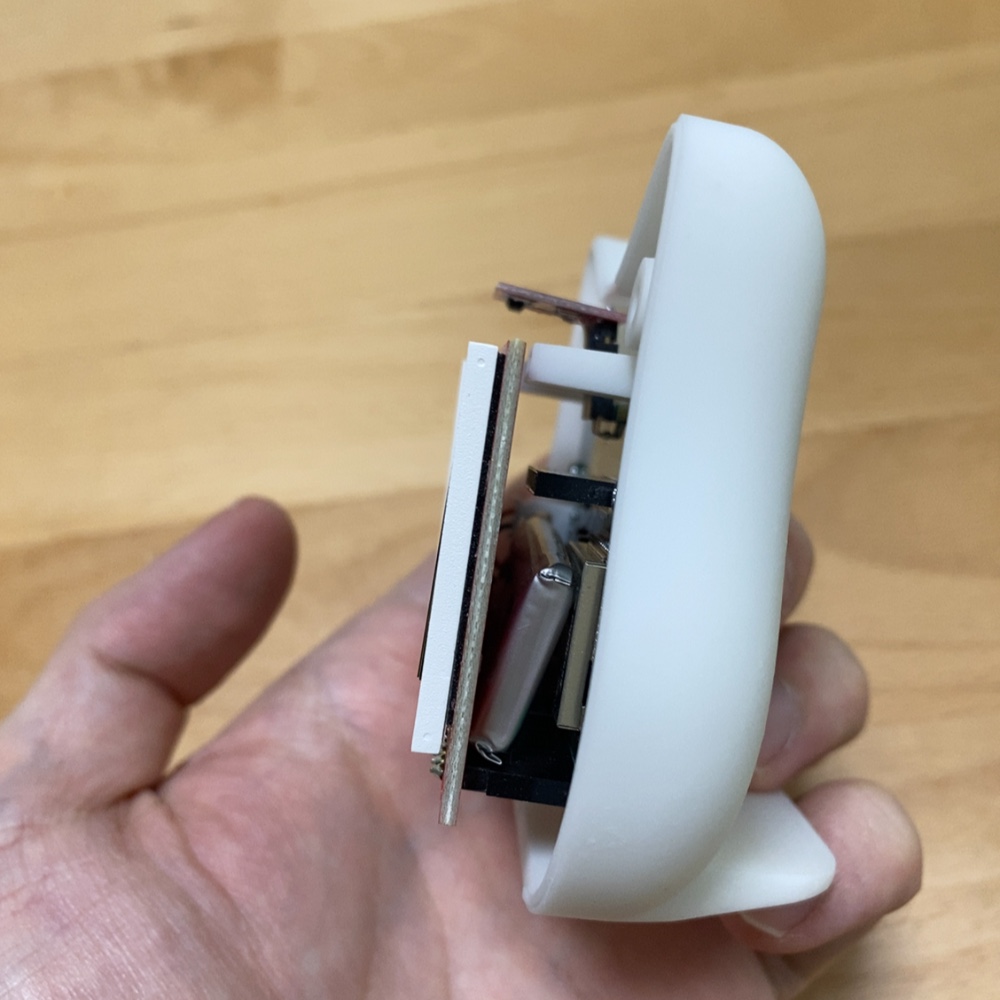
When the outside is removed, it looks like this.
Pull the eye display forward to remove it.

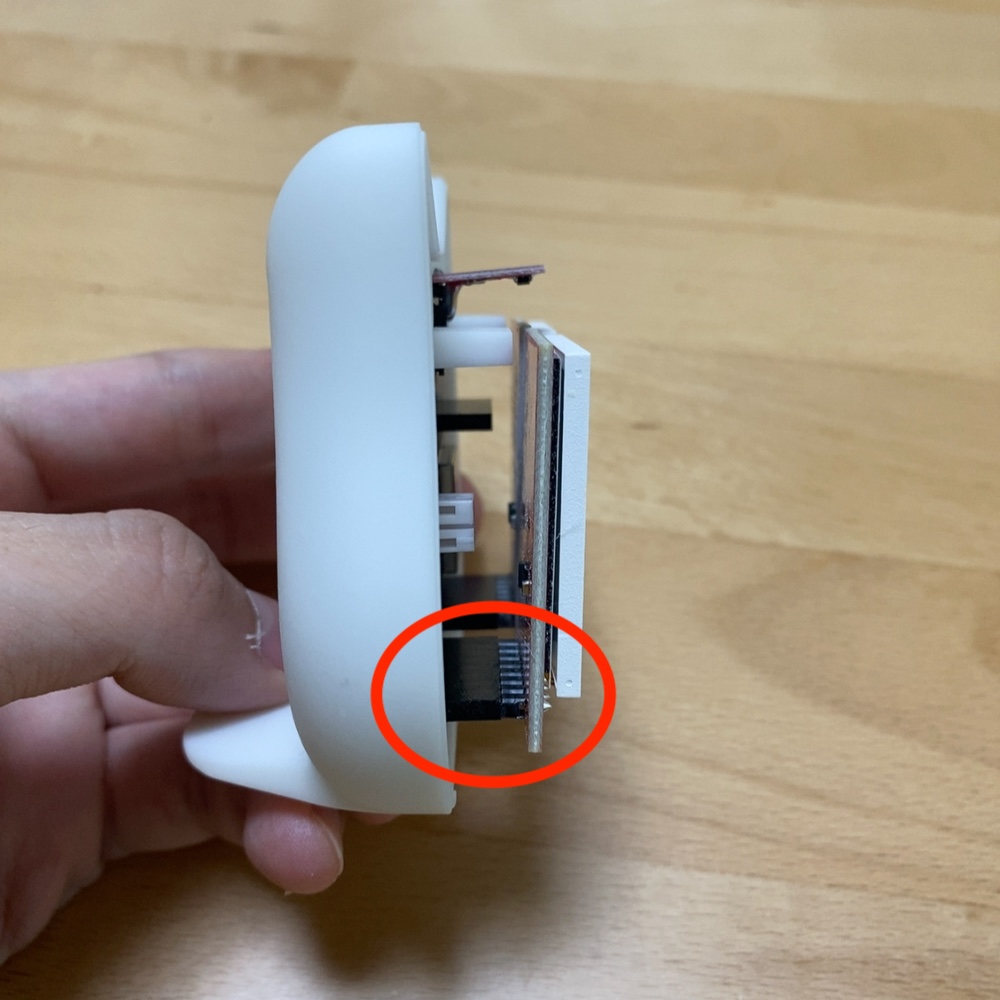
You will then see a circuit board. A little above the left center of the board, there is a connector labeled LIPO.
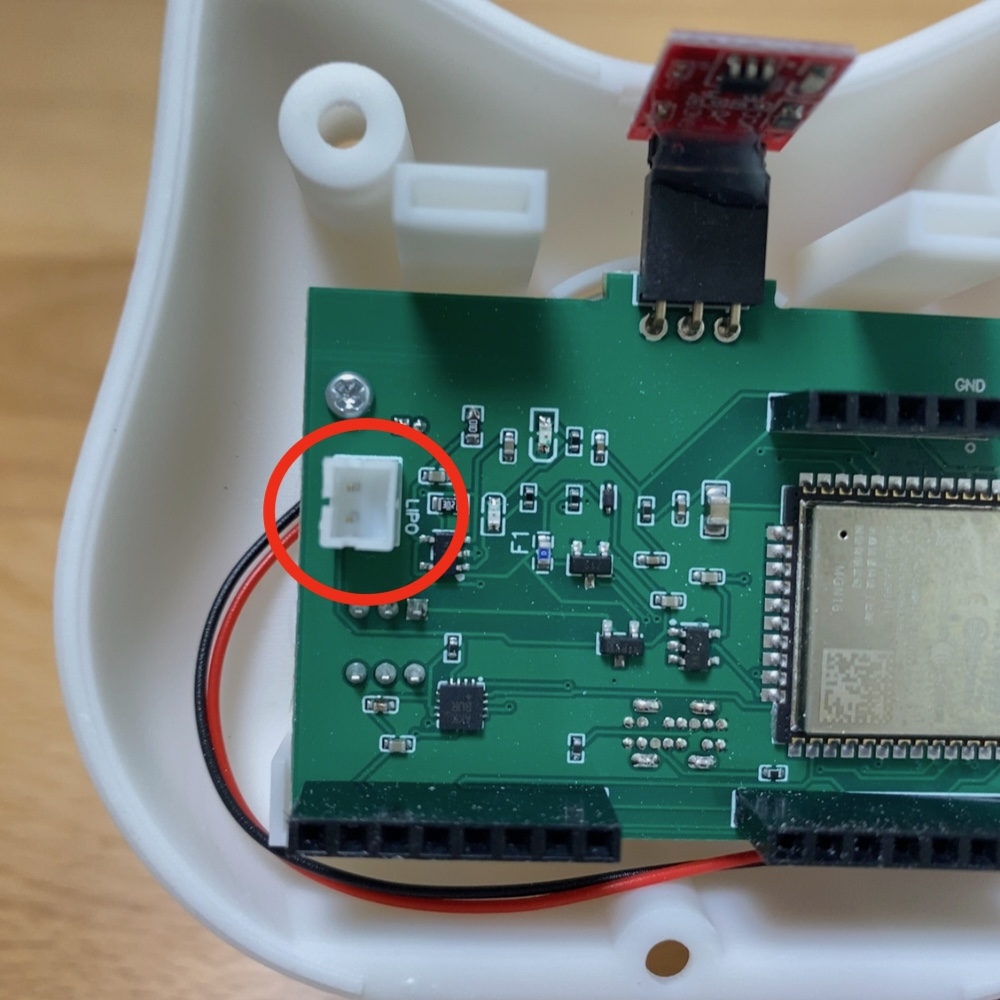
Note that the upper side of the connector will be red.
Install in this manner and push in until it clicks into place.
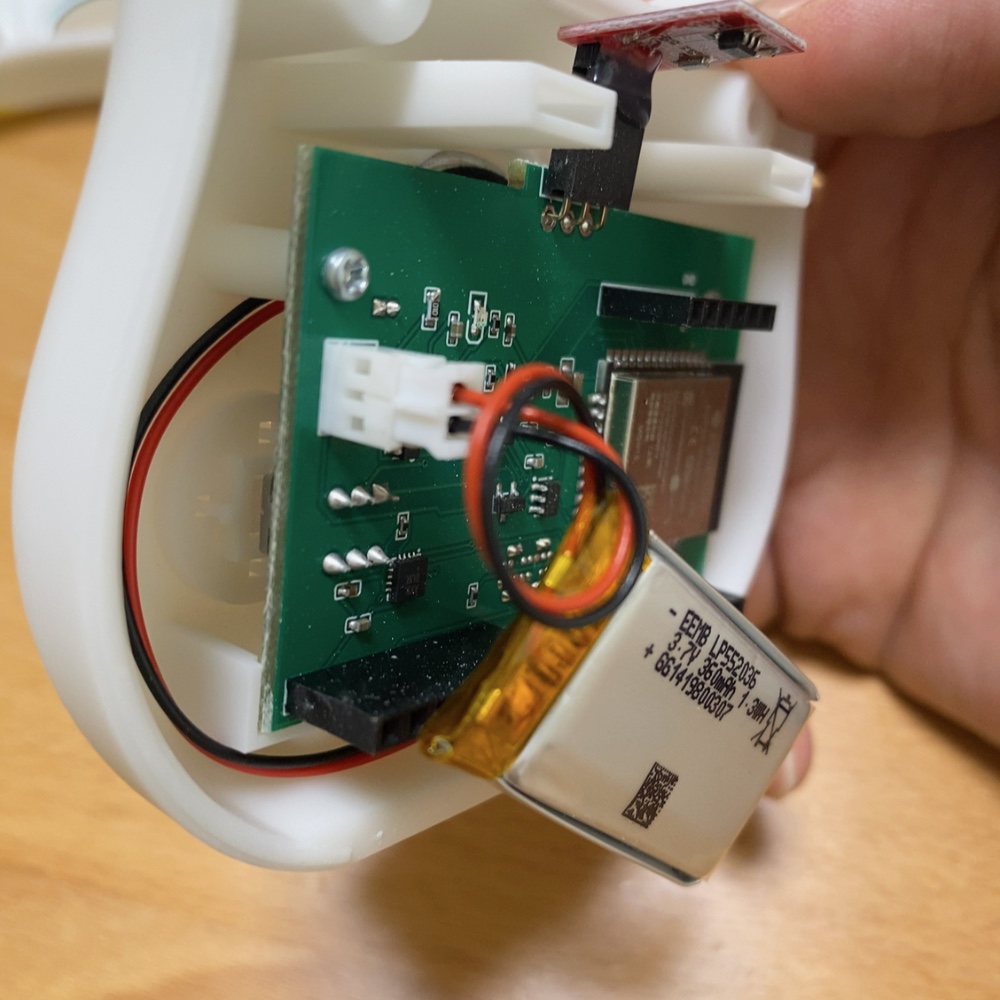
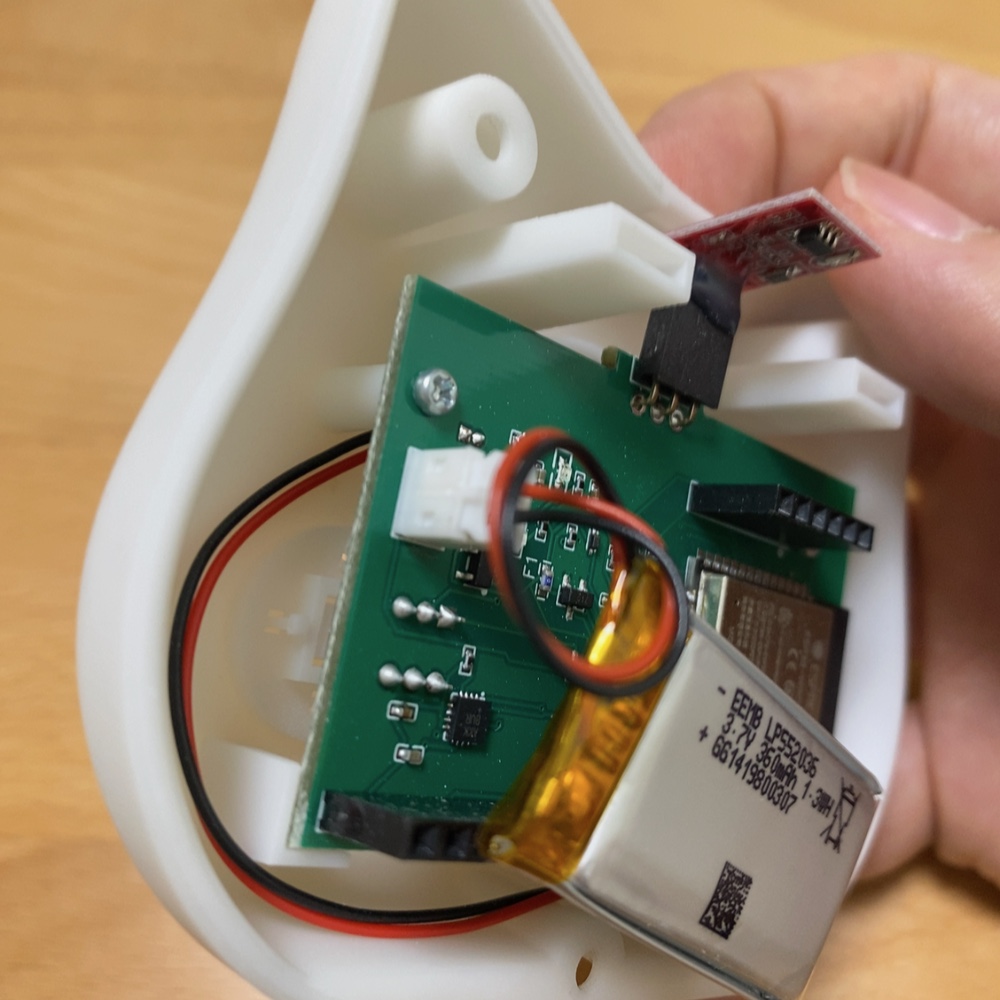
After installation, place the lithium-ion battery as shown in the figure below and reattach the eye display from the top.

After the display is installed, it will look like this.
After that, screw the three places and you are done.
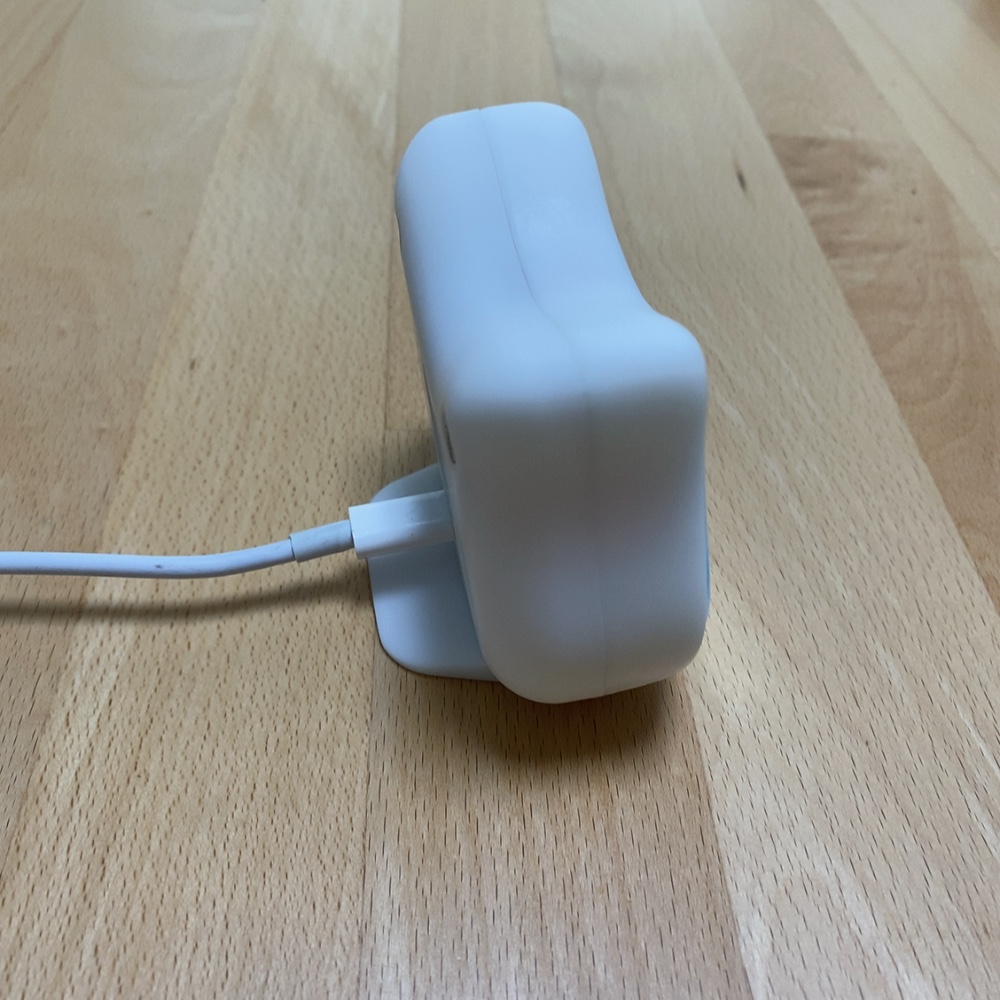
Now the Mia will work without having to be constantly connected to the USB-C cable. If you want to charge the battery, plug the cable into the USB-C connector.