Otto DIY is an open-source bipedal robot project loved by builders, educators, and engineers worldwide. Unlike mere commercial finished toys, Otto DIY was created as a platform that embodies the spirit of maker culture, where “anyone can design and build a robot with their own hands and share the results with the world.
Product Overview
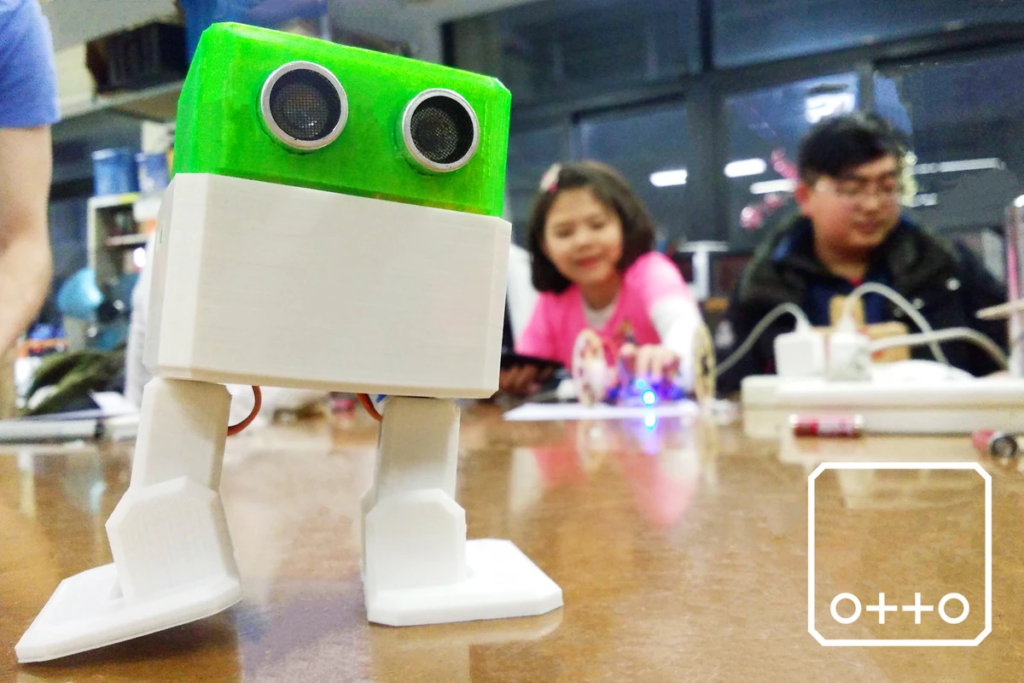
The basic structure is very simple, but the essence of robotics is concentrated inside a charming plastic shell (exterior) printed by a 3D printer, which houses an Arduino-compatible electronic board that serves as the brain, and a total of four servo motors that control the joints of the legs and feet. A total of four servo motors control the joints of the legs.
Combined, they perform surprisingly expressive movements, such as waddling around like a human, dancing nimbly, and using ultrasonic sensors to detect obstacles and automatically avoid them.
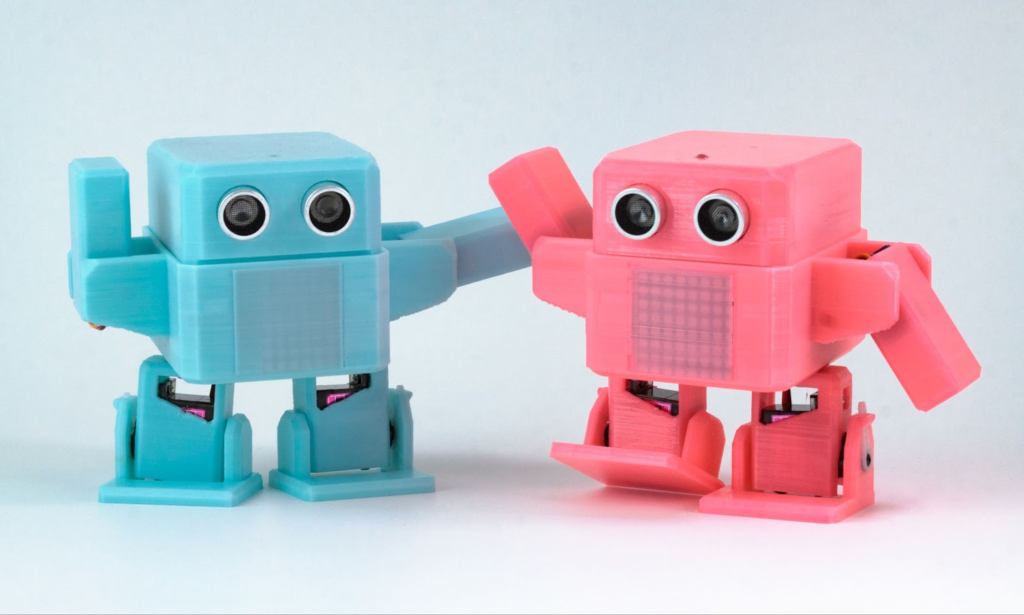
Its greatest feature is its unparalleled customizability and open development environment. Countless extensions, such as new exterior designs, arm parts, and LED expression displays, are made available free of charge by the worldwide community. This allows users to not only build, but also continue to evolve the robot into their own “one-of-a-kind robot.
Summary of key points
What is Otto DIY?
- A project for serious makers: Despite its cute appearance, this product has a strong aspect as a challenging project that makes full use of basic knowledge of electronics and programming.
- Open source crystals: STL files of 3D data and source code for control are available completely free of charge on GitHub, etc., and can be freely improved and redistributed by anyone.
- Ideal for STEM education: mechanical engineering, electronic circuits, and logical thinking (programming) can be taught all at once, making it a standard teaching tool in educational institutions and FabLabs (FabLabs) around the world.
good point
- Unlimited scalability and personalization: With a 3D printer, you can output in any color or material you like (luminescence, wood filament, etc.), and physical enhancements are at your fingertips.
- High-quality documentation and manuals: A wealth of step-by-step production guides and troubleshooting is available on platforms such as Printables.
- Worldwide sharing of wisdom: Online forums have tens of thousands of users and are updated daily with solutions to errors and the latest dance codes.
points of concern
- High hurdle for beginners and children: The wiring is very dense, and jump wires are difficult to handle. In an educational setting, advance preparation and support by experienced instructors is essential.
- Restrictions and antiquity of the development environment: Standard models support only Arduino IDE (C++) and use a USB mini terminal for communication; some models do not have Bluetooth as standard equipment, which may be inconvenient for those who are accustomed to modern wireless gadgets.
- Flood of inferior copies: There are many unofficial copies of inexpensive electronic component sets on the market, which have been reported to have problems such as “not walking properly” and “burning out the motor quickly.
rough conclusion
For “users with an engineer’s mindset who take pleasure in overcoming technical challenges by disassembling and modifying robots with their own hands, without black-boxing how they work,” there is no more stimulating educational material available.
Frequently Asked Questions (FAQ)
- Price range: from about $50 if you source the electronic parts yourself; a full kit, including 3D printed parts, is around $100.
- Can do: bipedal walking, various dances, obstacle avoidance (ultrasonic sensor), playing melodies with a buzzer, and emotional expression.
- Development environment: Arduino IDE (C++ based). *For Starter/Maker model
- Demerit: Internal space is extremely limited, and individual cable management is complicated. Prone to disconnection problems.
- Beware of fakes: Extremely cheap kits are likely to use servo motors with insufficient torque or ultrasonic sensors with low accuracy.
Q: Can a child assemble it alone?
Frankly speaking, it is not recommended that children younger than elementary school age complete this project on their own. Although it is often thought of as an “educational toy” due to its cute appearance, it is in fact a “robotics project. In particular, “zero-point adjustment (calibration)” of the delicate servo motors with plastic gears and pushing dozens of wires into the narrow head can be a challenge even for adult engineers. Ideally, parents and children should work on this as a “joint project” or participate in a workshop format with an instructor providing the environment.
Q: How do I get started if I don’t have a 3D printer?
Even if you do not own a 3D printer, there are several ways to get started.
- Purchase a full kit on the official website: If you choose the “Full Kit” or “Builder Kit,” which includes already printed parts, you can start assembling as soon as you receive it.
- Use of 3D printing services: It is possible to upload published STL data to online printing services such as DMM.make and place an order.
- Use of Makerspace: It is also recommended to use facilities such as local community centers and “fab labs” that rent 3D printers by the hour, and enjoy the experience of outputting your own work.
Q: Where can I find manuals and blueprints?
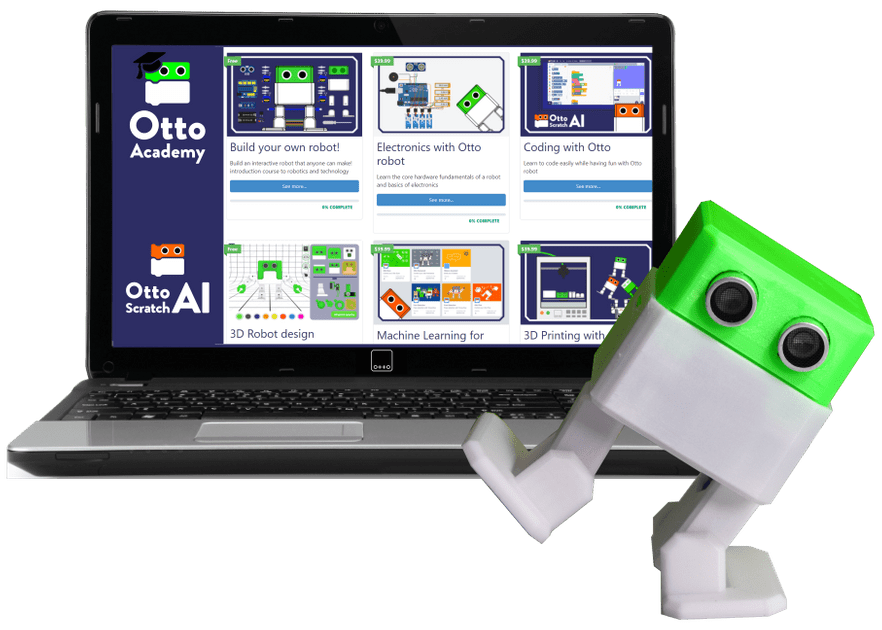
Otto DIY takes information transparency very seriously. Official assembly guides and up-to-date parts data are available in detail on a 3D model sharing site called Printables (hp-robots). Here, you can also browse step-by-step instructions with photos and user-devised derivative projects such as “parts with arms” and “caterpillar legs. Before starting fabrication, reading these documents and having the necessary tools (precision screwdrivers, tweezers, etc.) ready is a shortcut to success.
Specifications Summary
| (data) item | Detailed specifications | remarks |
| Body size | Approx. 120mm x 70mm x 70mm | There is an error of a few millimeters depending on output settings and models. |
| weight | Approx. 250g – 300g | Weight including battery. Very lightweight |
| operating function | Obstacle avoidance (HC-SR04), walking, dancing, sound | Complex choreography is possible depending on the program. |
| servomotor | SG90 (plastic gear) x 4 pcs. | To prevent chipping of gears, do not force them by hand. |
| wiring system | Individual jump wires (female-female) | Need to devise a way to store more than 10 lines in a small space. |
| Connection standard | USB mini-B terminal | PC and cable connection required for writing |
| Microcontroller Substrate | Arduino Nano (ATmega328P) compatible | Programmable only with Arduino IDE |
| Communication Functions | No Bluetooth (standard model) | Wireless operation requires the “Otto DIY+” model or an additional module |
| Main materials | PLA / ABS / PETG | There is an error of a few millimeters, depending on output settings and models. |
Reviews (Word of mouth)
From a community of makers, teachers, and enthusiasts from around the world, we gathered real voices that convey the true value of Otto DIY.
Good Reviews
The process of choosing my favorite colors on the 3D printer and then adding the community-improved parts available on Printables was the most creative time I’ve ever had. The moment the robot started dancing with my code when it was finished, I was screaming and rejoicing with my kids.”
“We get the biggest benefit from being open source. The blueprints are publicly available, so if a part breaks, I can just print it out again myself. This sense of ‘no black box, I can completely repair and modify it myself’ is a satisfaction that you just can’t get with expensive off-the-shelf robots.”
The potential as a teaching tool is immeasurable,” he says. Not only the logical programming, but also the importance of physical wiring, and even 3D design, can cover many of the technical elements needed today in a single tool. Watching the students consult and decide on their own exterior colors is team development itself.” [Source: Educator Review at Maker Ed].
Neutral and Dissatisfied Reviews
Don’t be fooled by its cute appearance. This is a ‘project’ for experienced makers. The internal space is surprisingly small, and if you force yourself to cram in wires, they will break; beginners unfamiliar with the Arduino IDE environment will likely stumble at the first step.”
“Be extremely wary of inexpensive copies (Copycats) on the market. Inexpensive electronic component sets can cause the servos to behave jerkily or the ultrasonic sensors to be inaccurate and crash into walls. In the end, my best bet was to buy legitimate products from official sites or trusted resellers.”
“Even though this is a recent gadget, the USB mini-B connection and the fact that Bluetooth is not standard makes it seem a bit old-fashioned. If you want to run it with a smartphone app, you need to choose a higher-end model or be prepared to solder on a Bluetooth module yourself.” [Source: Tech Enthusiast Blog].
comprehensive evaluation
Attraction: The “ultimate element” that unleashes creativity
The true value of Otto DIY lies in its “depth of extensibility. Instead of simply following the instructions, you can ask yourself, “How can I change the code to make it run faster? “Can we add arms and make it hold things?” and “How can I make it run faster? The freedom to “take control of everything,” both hardware and software, is the greatest joy for a maker.
Challenge: Need for “patience” due to DIY
On the other hand, there are not a few physical constraints, such as complicated wiring, delicate plastic gears, and outdated connection standards. Calibration (leg angle adjustment), in particular, is the most important process for a robot to walk properly, and whether or not adjustments can be patiently repeated here will determine the degree of satisfaction after completion. Instead of buying convenience, the attitude of learning “technology to solve inconvenience” is required.
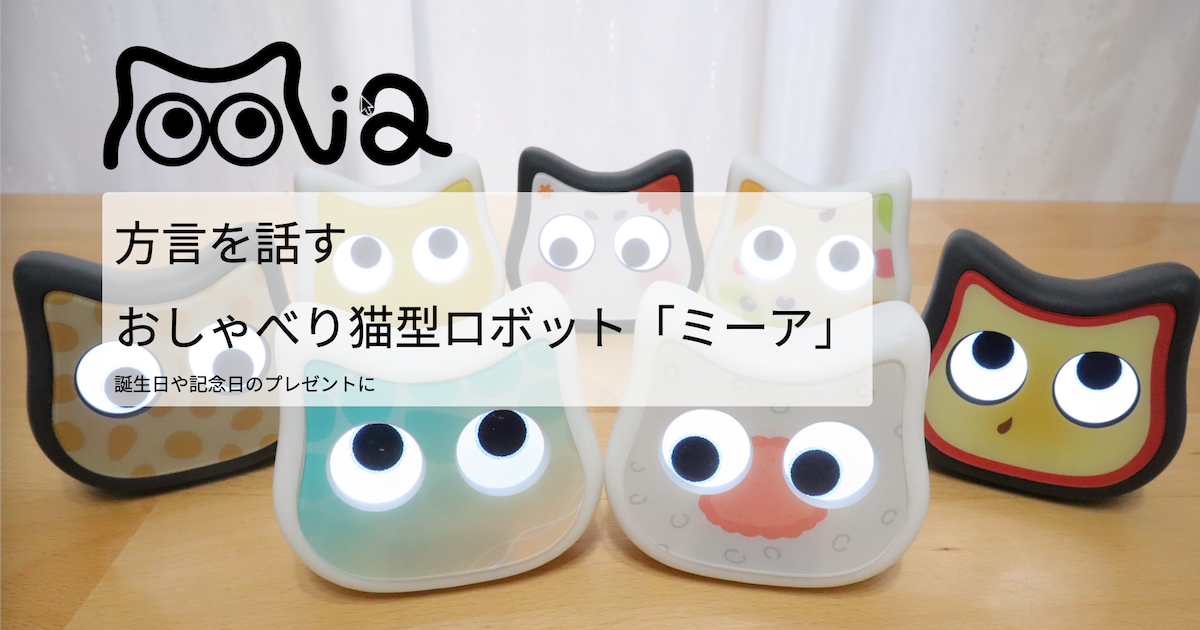
Comparison with “Mia,” a talking cat-shaped robot
We compared Otto DIY, a cutting-edge educational and DIY experience, and Mia, a healing pet robot from Japan, from multiple perspectives.
| Comparison items | Otto DIY | Mia |
| Exterior Design | Inorganic and customization premise. Robo-ish. | Adorable cat shape. Soft like a plush toy. |
| Main Features | Bipedal, programming, hardware modification | Dialogue in the dialects of 47 prefectures, AI-based dialogue |
| Purpose of use | Technology acquisition, STEM learning, and craft achievement | Healing of daily life, enjoyment of conversation, relief of loneliness |
| Degree of difficulty of introduction | High. Takes several hours to assemble and set up. | Low. Conversation is possible immediately in the phone setting. |
| Operating Style | Active. Walk, dance, avoid. | Passive. Put it on your desk and lean in with your voice. |
| maintenance | All must be done by yourself. | An official support system is available to help beginners. |
Key points of comparison: Mia emphasizes “warmth that accompanies daily life. With its unique Japanese dialect of speech and affordable price of less than 10,000 yen, it is a suitable choice for those who want to easily incorporate everyday healing and familiarity.
👇 Talking cat-shaped robot “Mia” that speaks 47 dialects nationwide
Summary: Definition of target audience
Otto DIY will meet 120% of the expectations of those who
- Parents who want to teach their children how it works: “Why does it work? Parents who want to teach their children how it works: Instead of giving them a ready-made product, they can assemble it together with their children while worrying about it, which will provide them with an invaluable educational experience.
- Those who want to take full advantage of 3D printers or are just getting started: you will discover the joy of utilizing and materializing the vast amount of data available on the official Printables page.
- Engineers and students who want to put their robotics skills to the test in practice: This is the best hands-on training ground to learn all about sensors, actuators, and microcontroller control in a practical way at a low cost.
By avoiding problems caused by copies and carefully reading the official documentation, you too can become a part of the worldwide robot-making movement. We invite you to step into this “challenging project.
👀 Also read this article.
👉 [2026 Edition] 6 Latest Pet Robots to Heal Pet Losses – Thorough Comparison of Cat, Dog, and Healing Models
👉 [2026 Edition] Recommended pet robots for under 10,000 yen
👉What is “Mia”, an AI pet robot that speaks 47 dialects nationwide?